How to connect VSCode to your remote server via SSH
Plus debugging tips for common error messages and pitfalls.
If you’ve ever had to ssh into a server to run programs, you may be taking an unnecessary productivity hit each time you relegate yourself to coding in a Jupyter notebook on localhost:8000.
What if I told you that you could harness the full editing power of VSCode while enjoying the full compute of your remote server?
In hindsight this was incredibly obvious, but if you’re like me and had just started working with remote servers without much background in DevOps, this was an amazing “unknown unknown” that literally 10x’d my productivity.
The answer is the Remote - SSH VSCode extension, which I’ll walk you through below:
- Installation - how to install Remote - SSH in VSCode
- Connecting to your remote - how to use Remote - SSH
- Maximizing performance - how to make the most out of Remote - SSH
- Troubleshooting - for when things inevitably go wrong
- Slurm - special case of connecting to a Slurm compute node that you can’t directly
sshinto
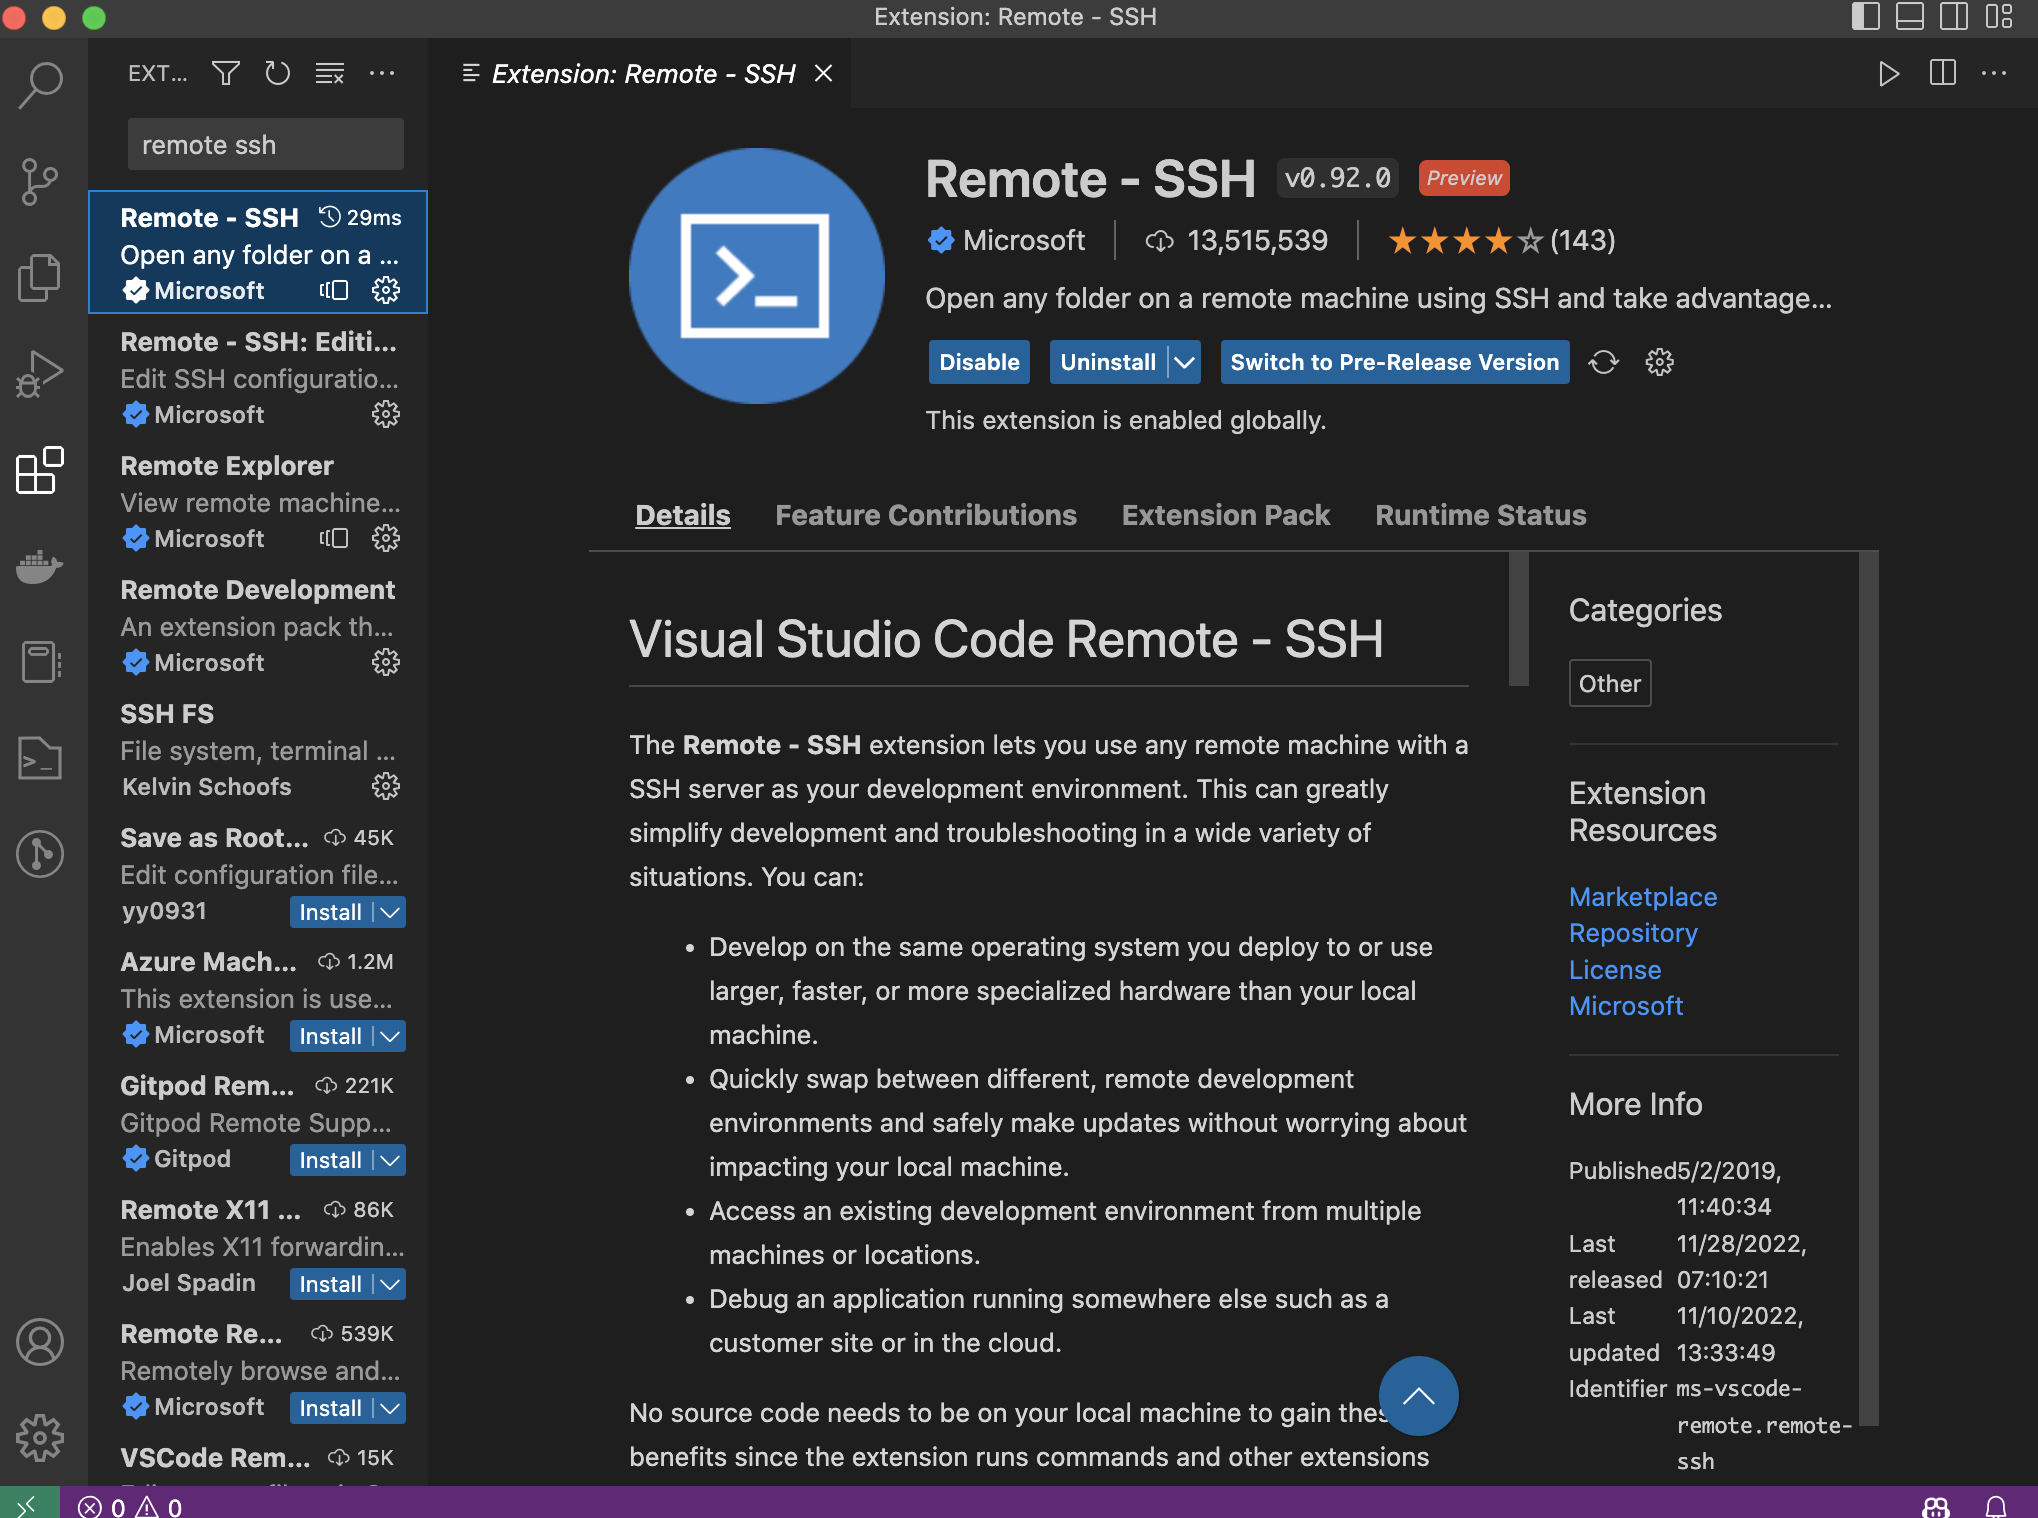
1. Installation
First, install the Remote - SSH extension to your VSCode.
2. Connecting to your remote
Now, we will connect VSCode to our remote server.
- Open up VSCode.
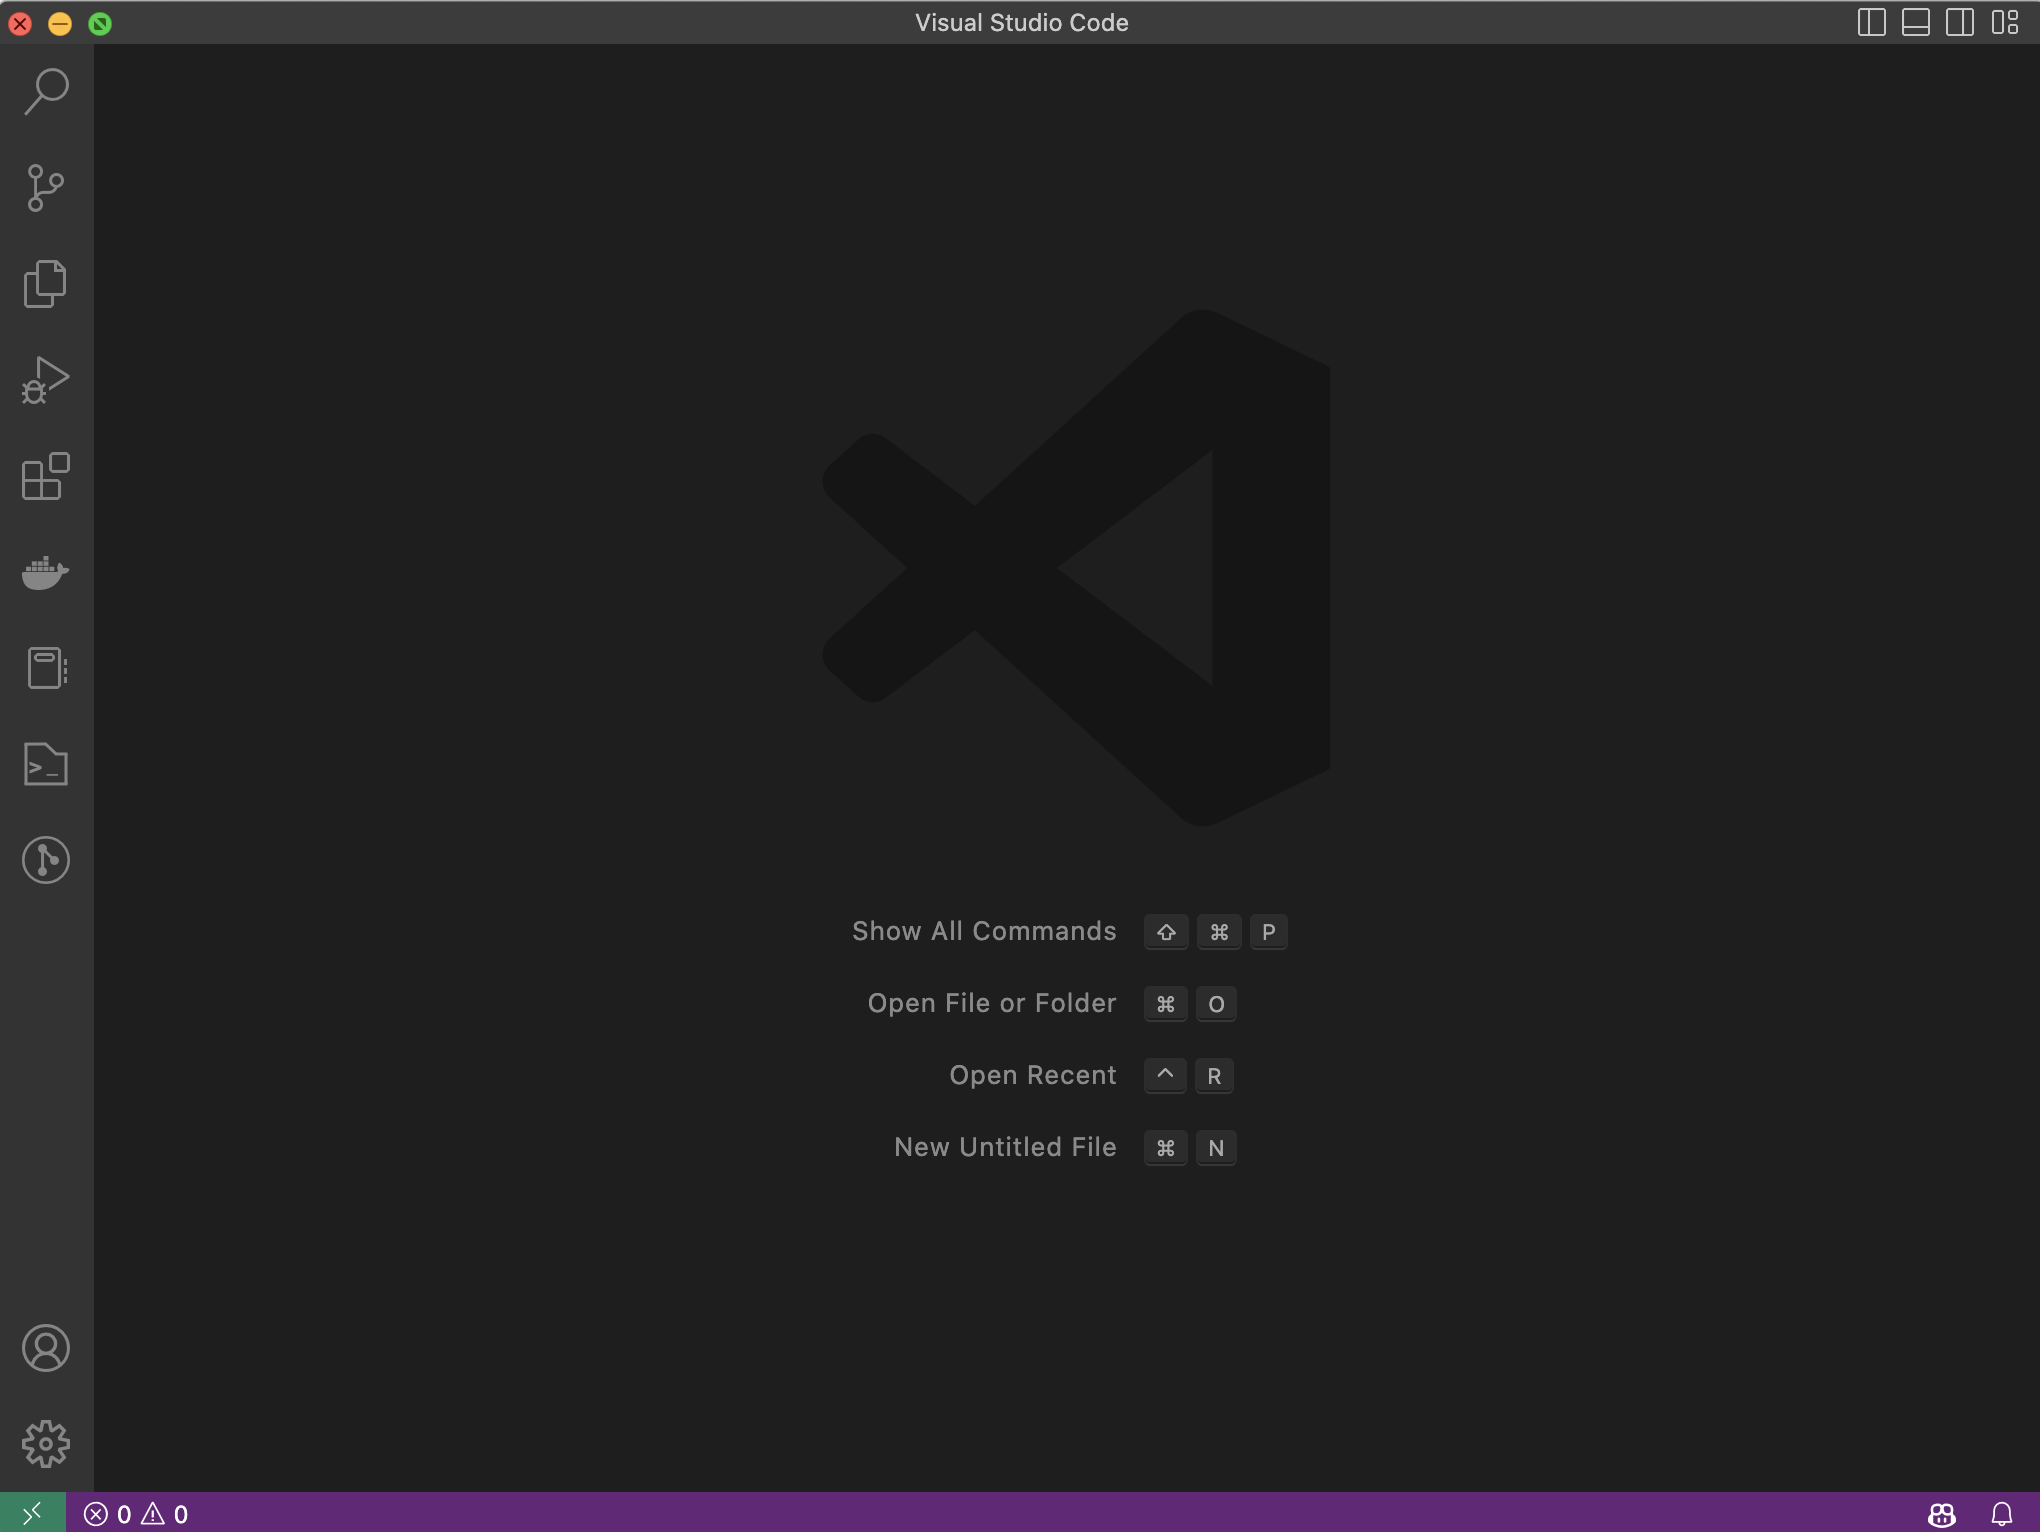
- Hit
Cmd + Shift + Pto open up the Command Pallette, then type “Remote-SSH: Connect to Host”. It should autocomplete for you.
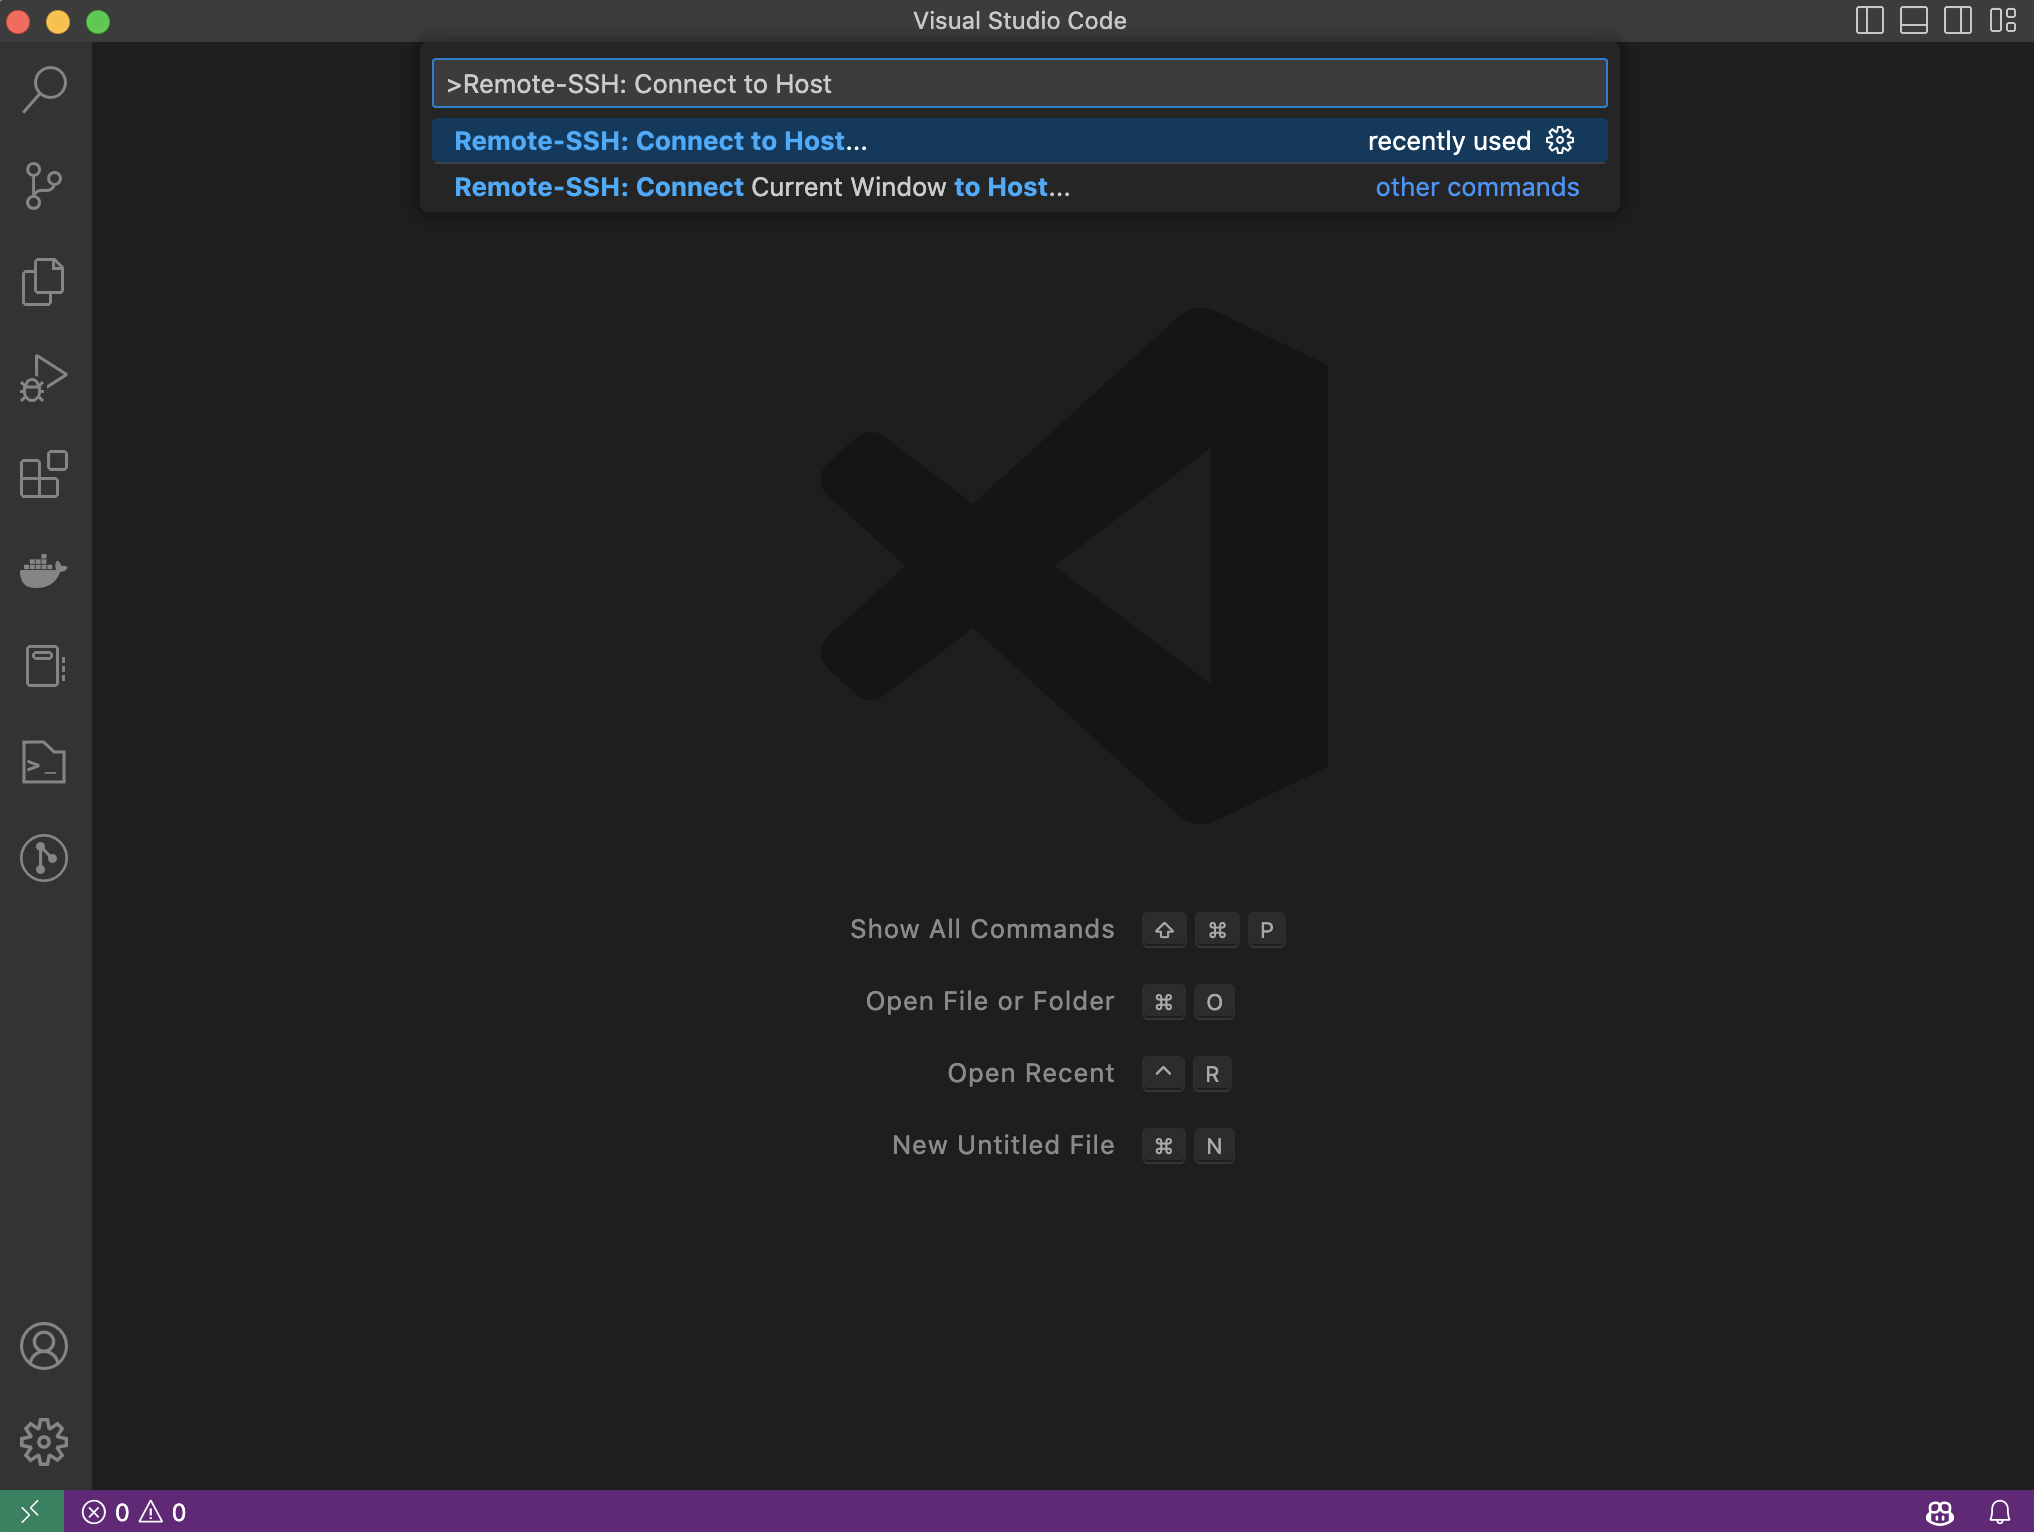
- Hit
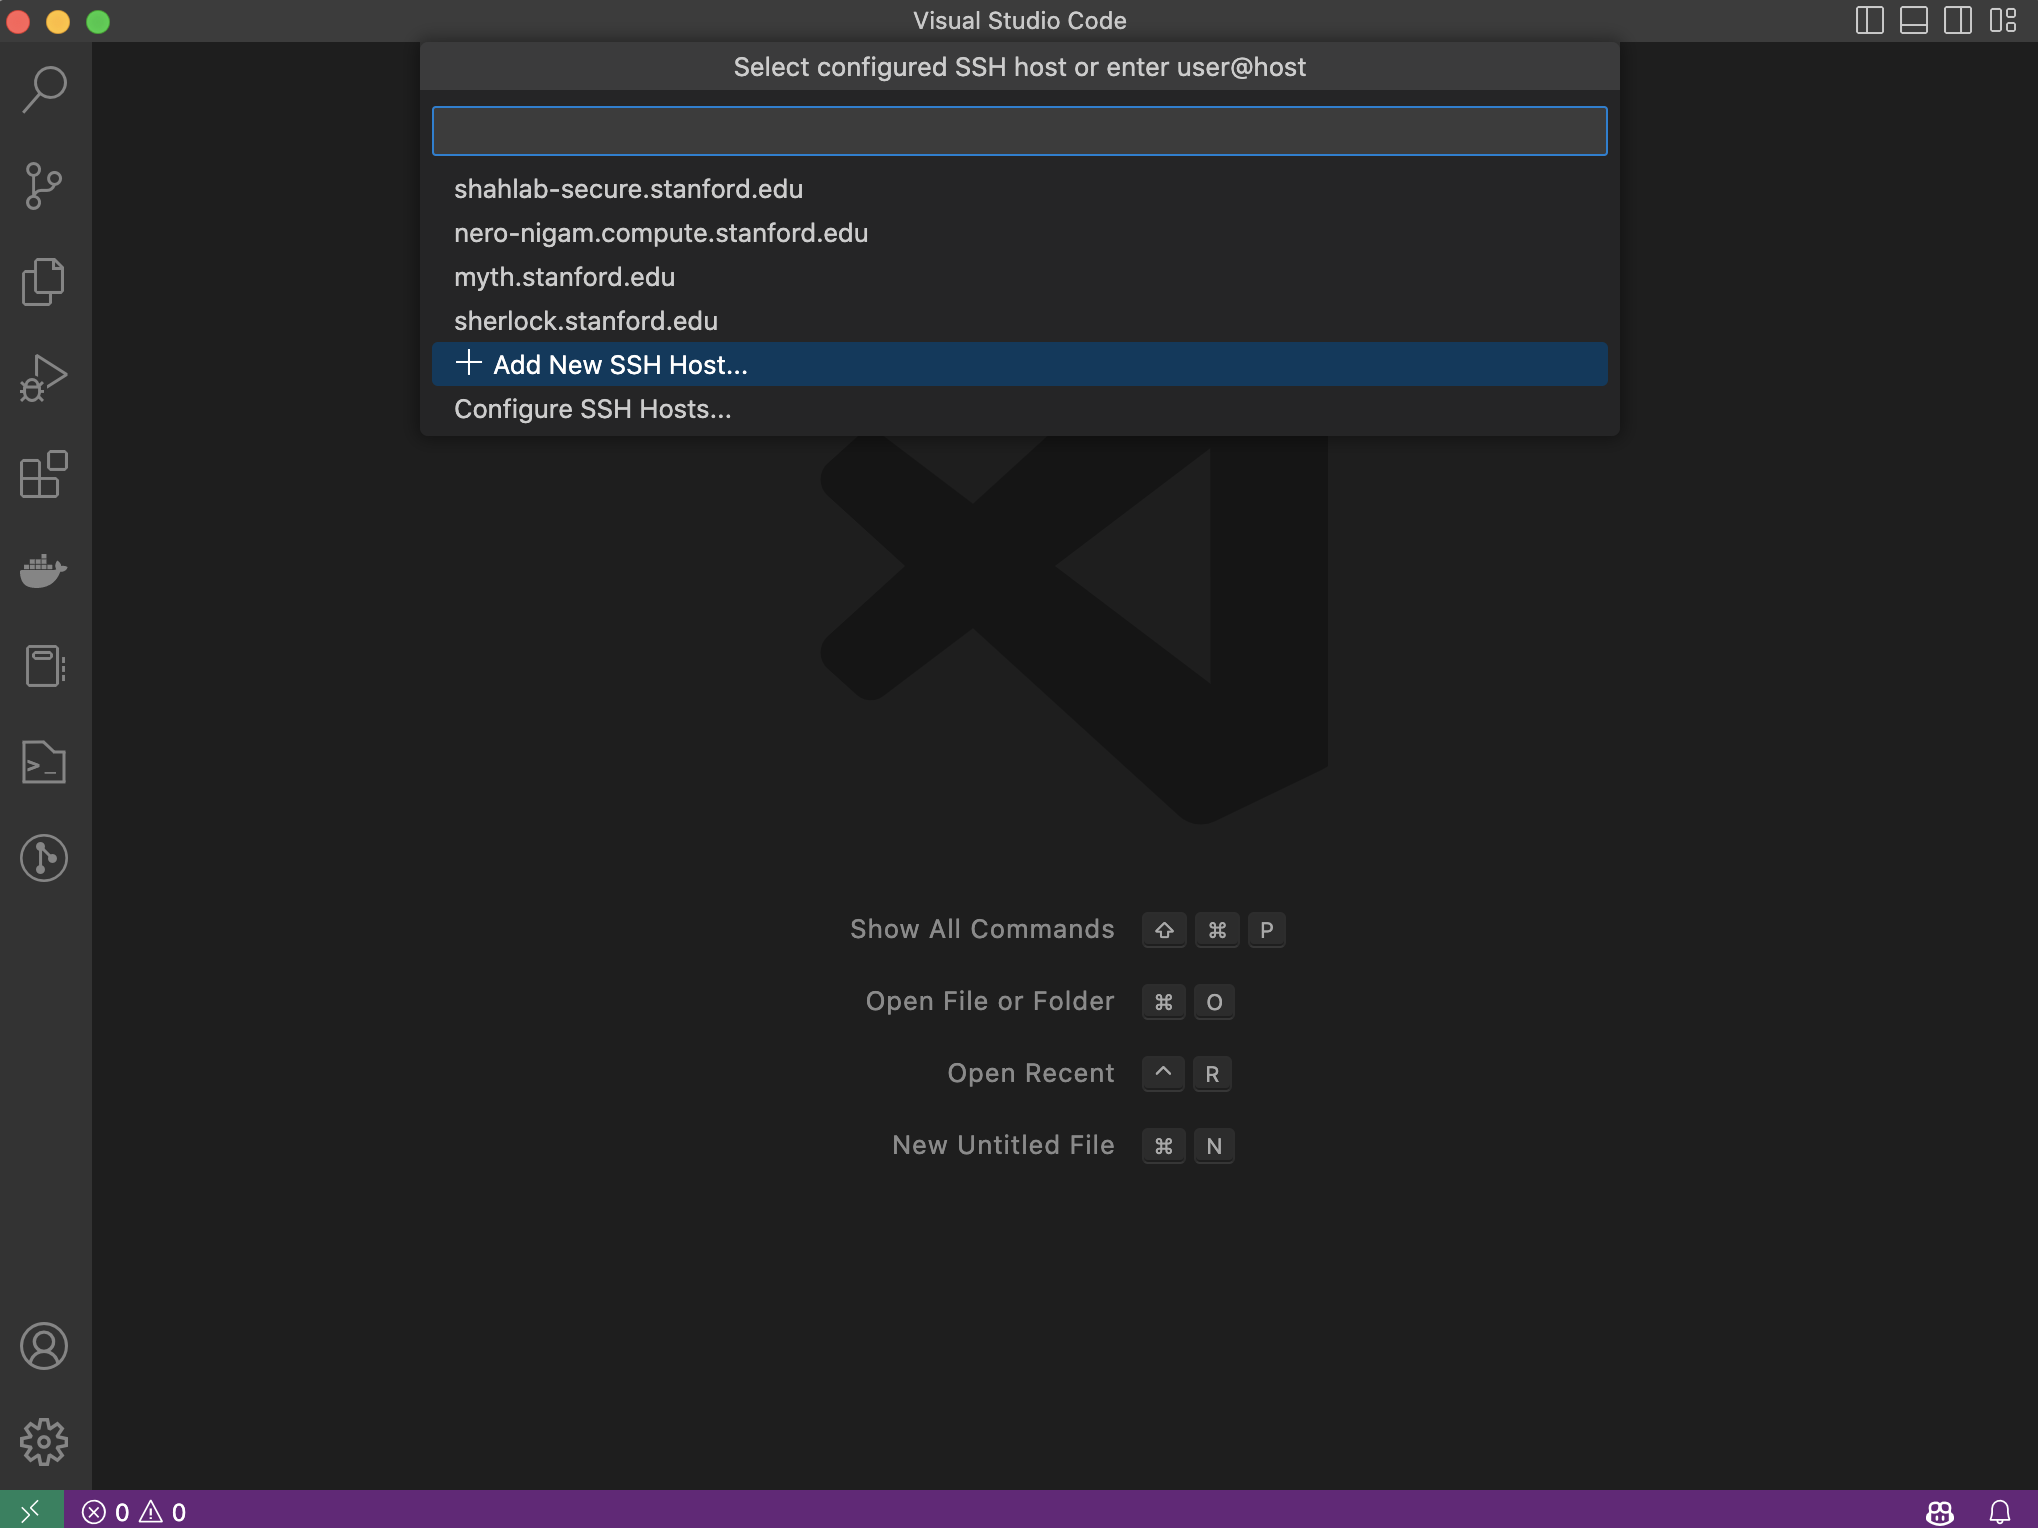
Enterto open up the “Select configured SSH host or enter user@host” dialogue. This will list any remote servers that you’ve ssh’d into previously.
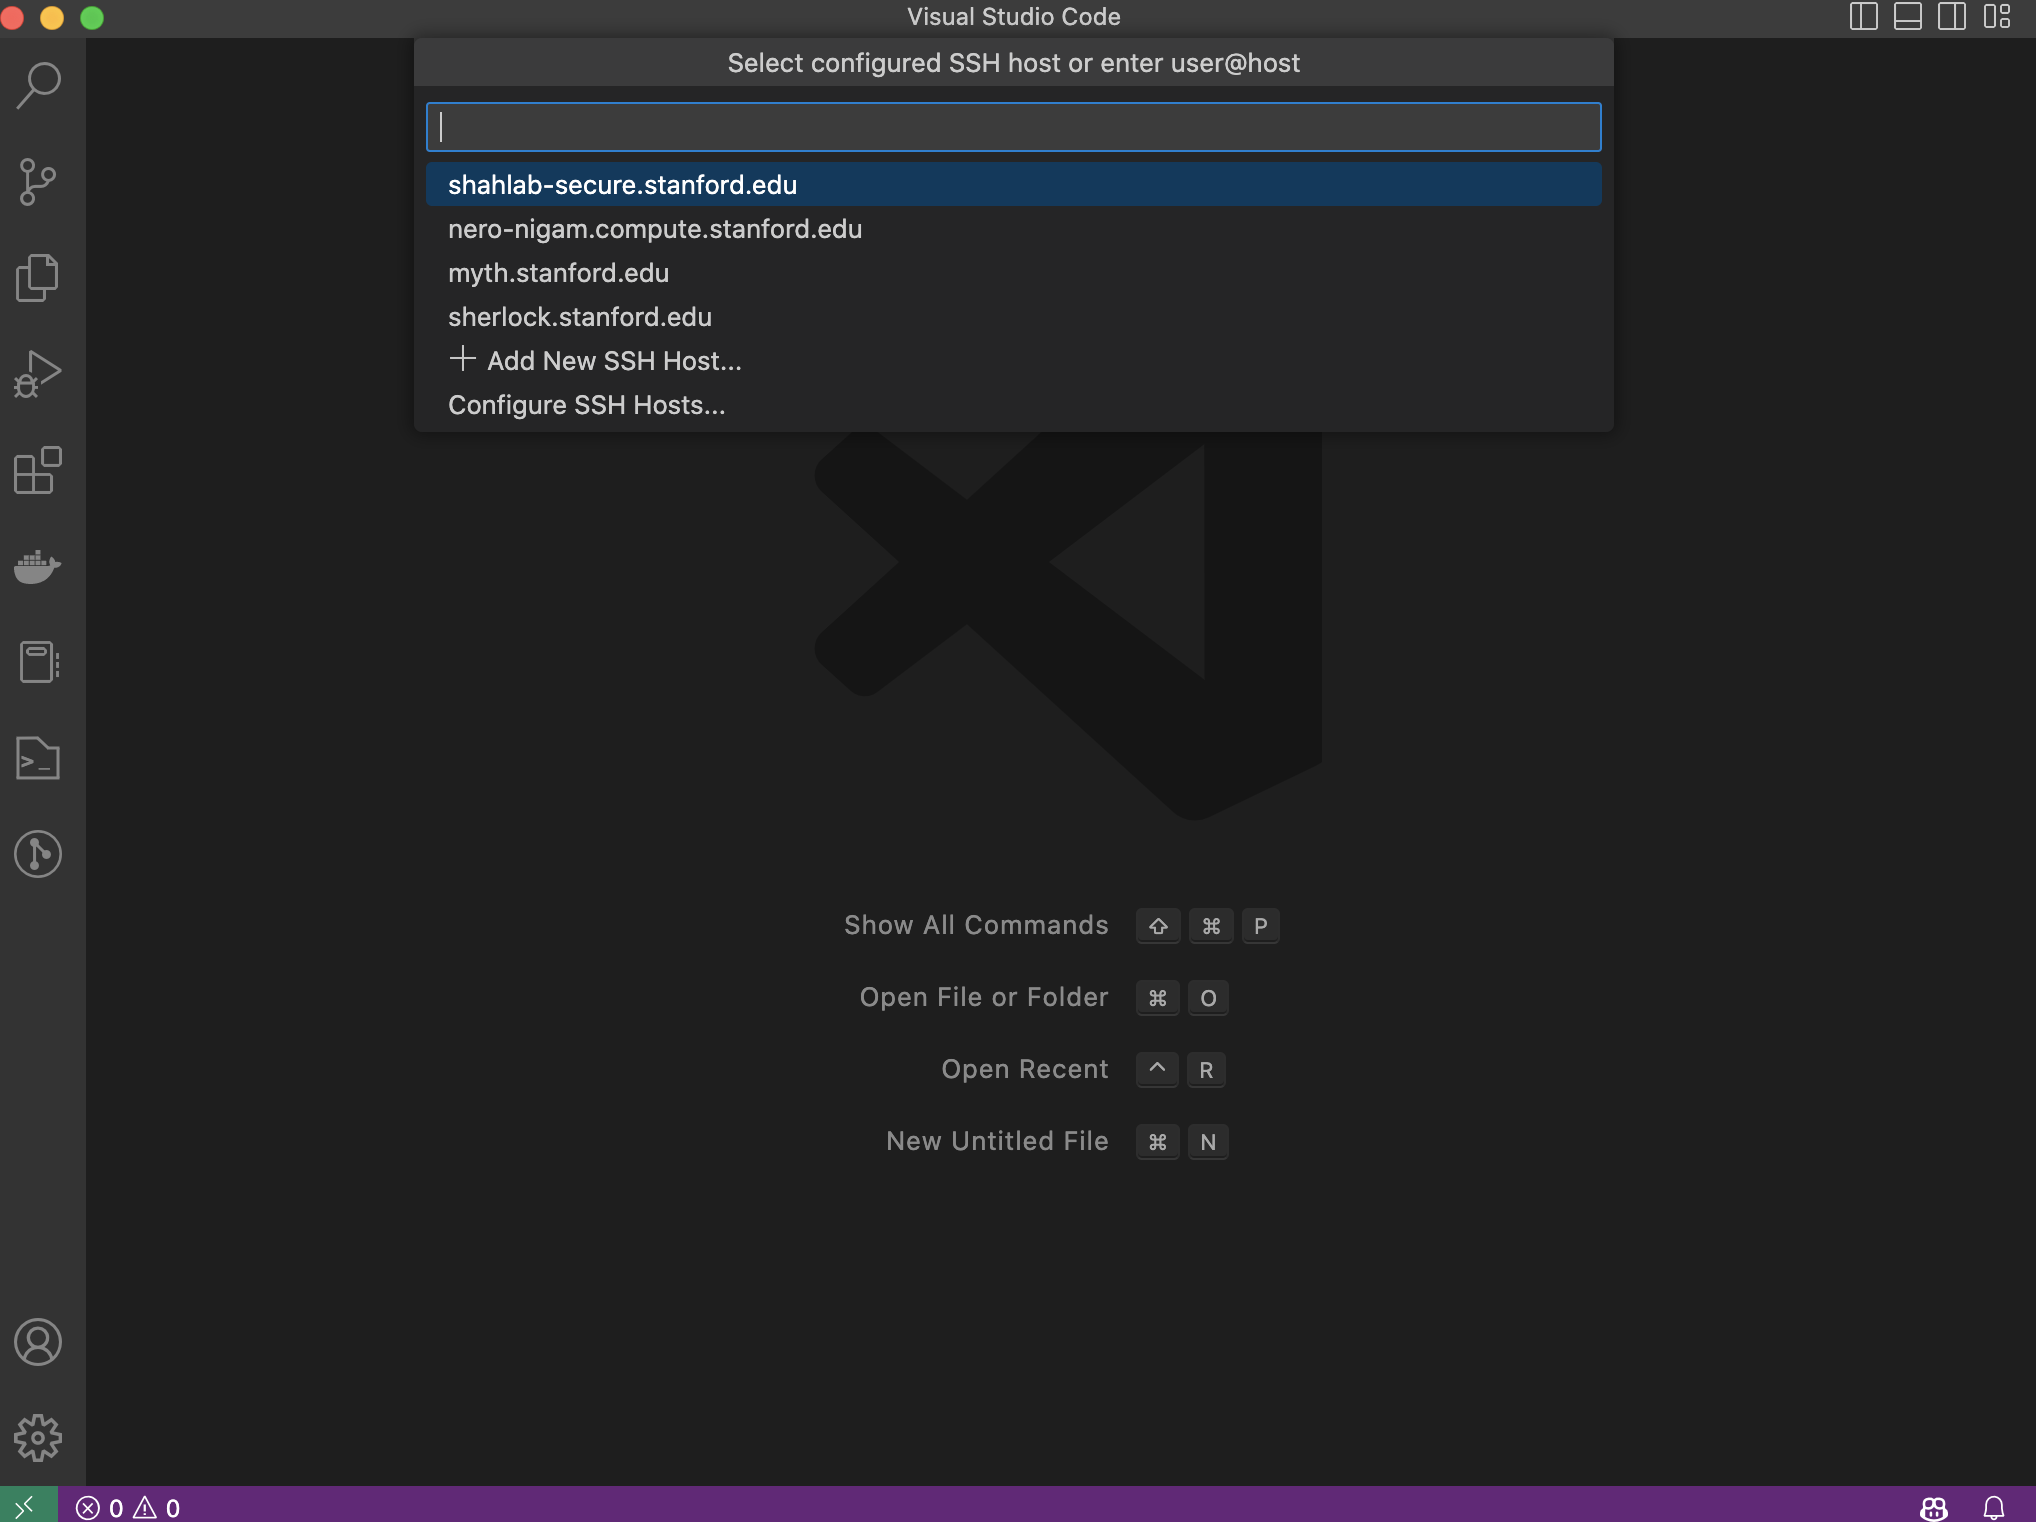
- Let’s add a new remote. Select the “+ Add New SSH Host…” option and hit
Enter.
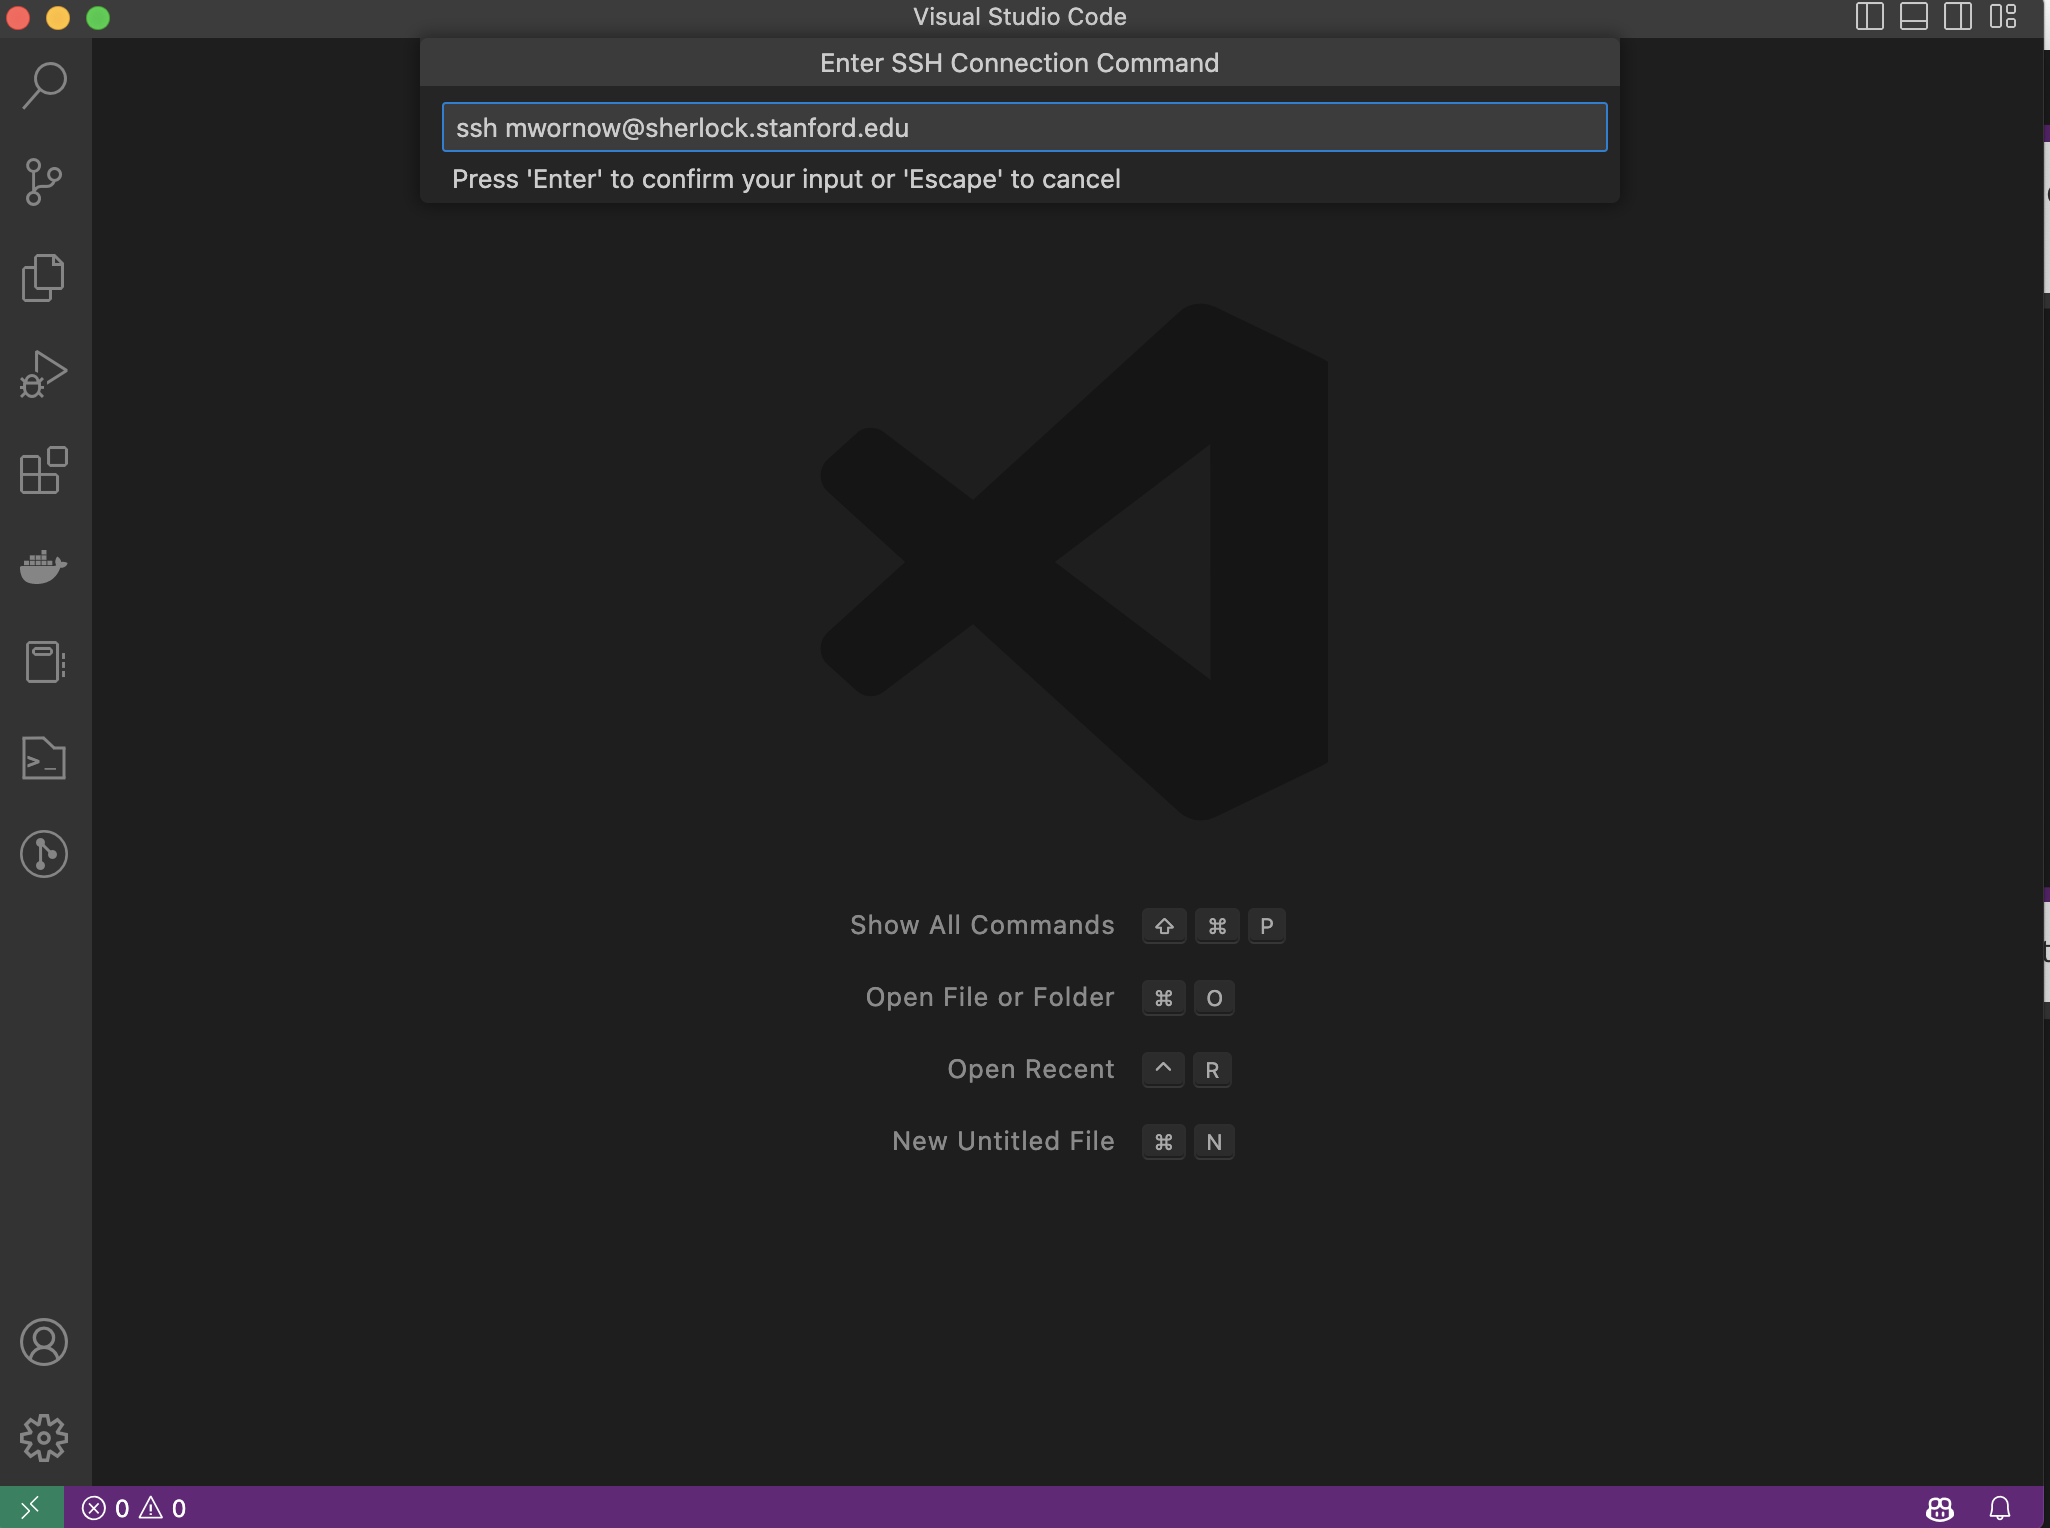
- Type in the
sshcommand that you’d normally run to connect to your remote (just as you would in any Terminal), then hitEnterto start the connection process.
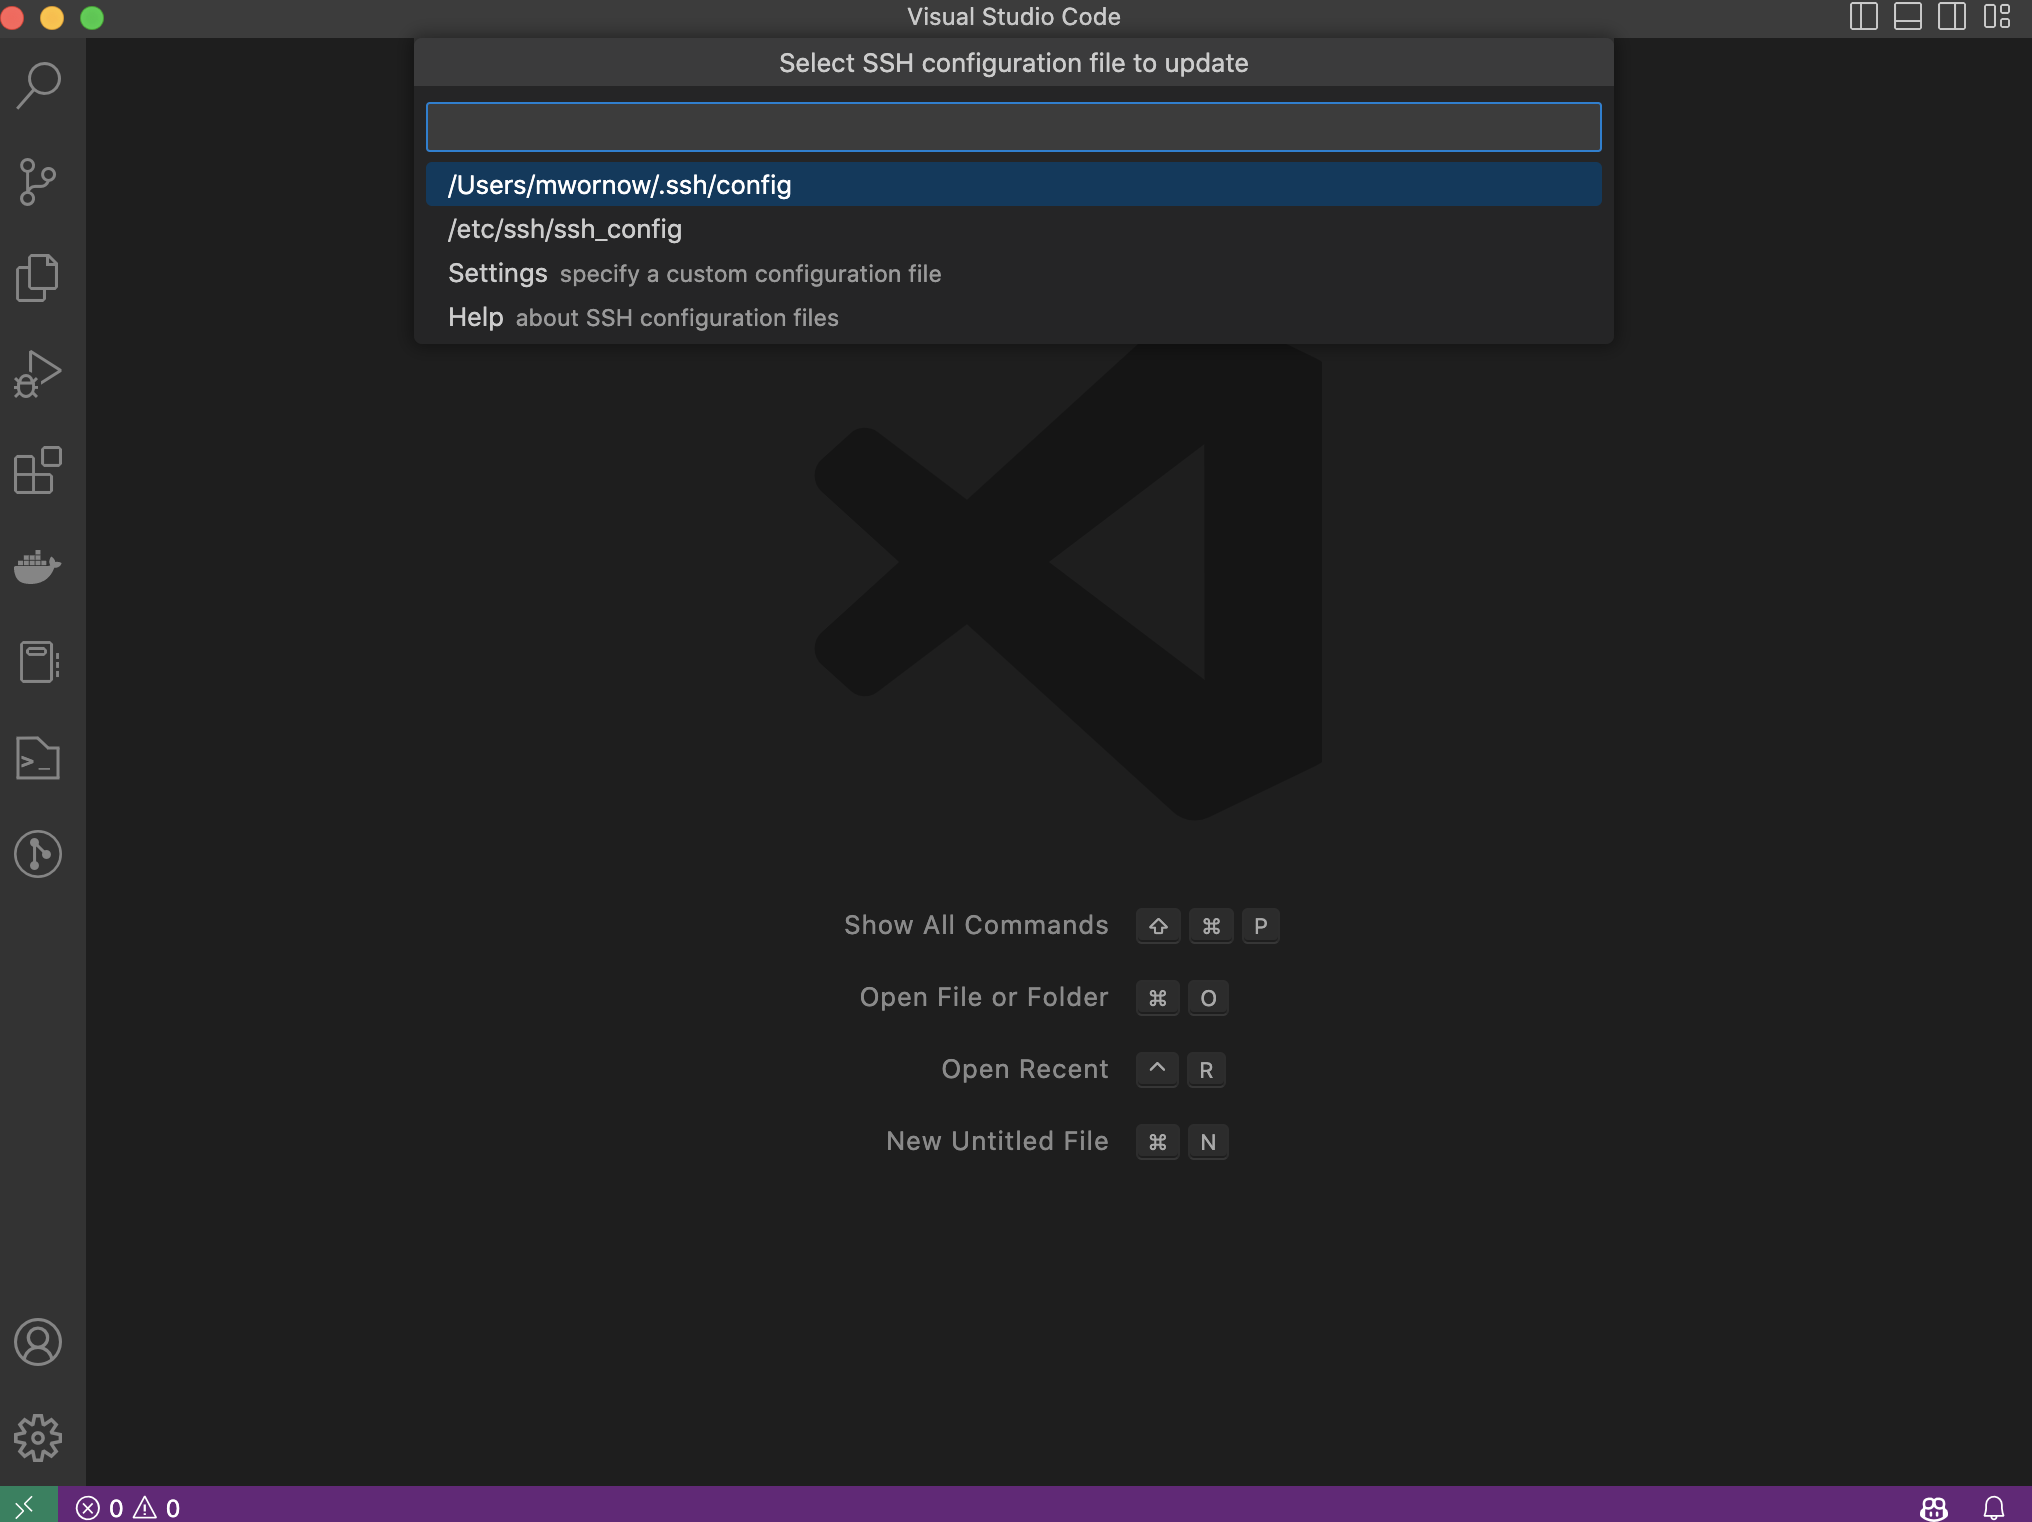
- VSCode will ask you where it should store information about this
sshconnection. Select the first option (which is the config file for your user profile) and hitEnter.
- VSCode will now alert you that you successfully added this remote!
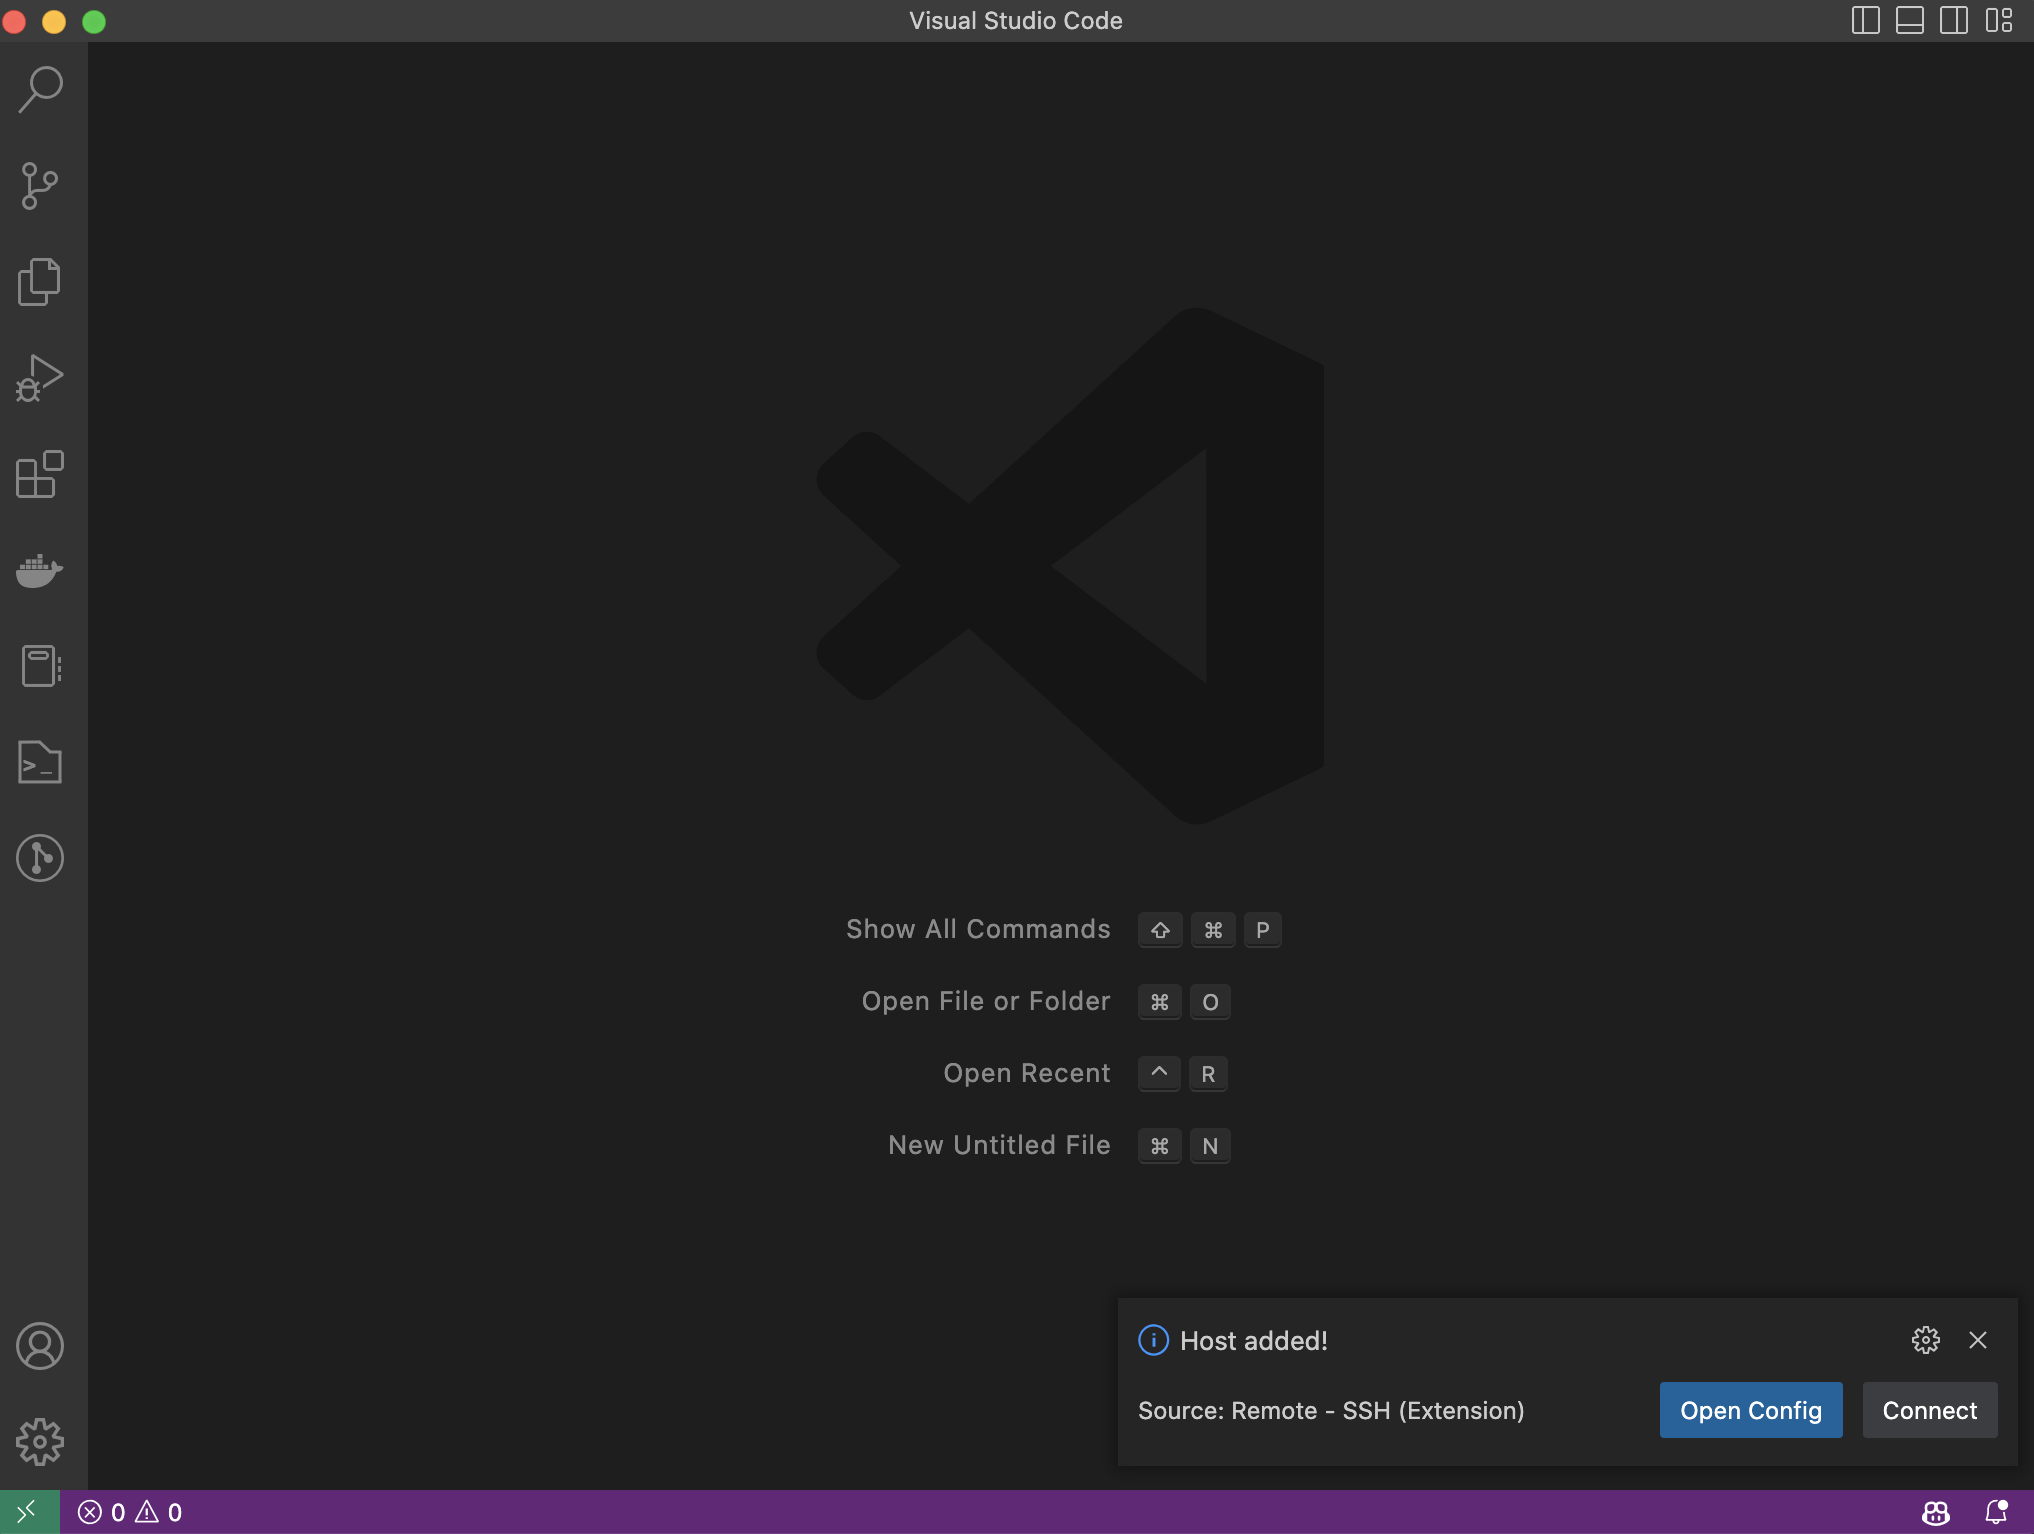
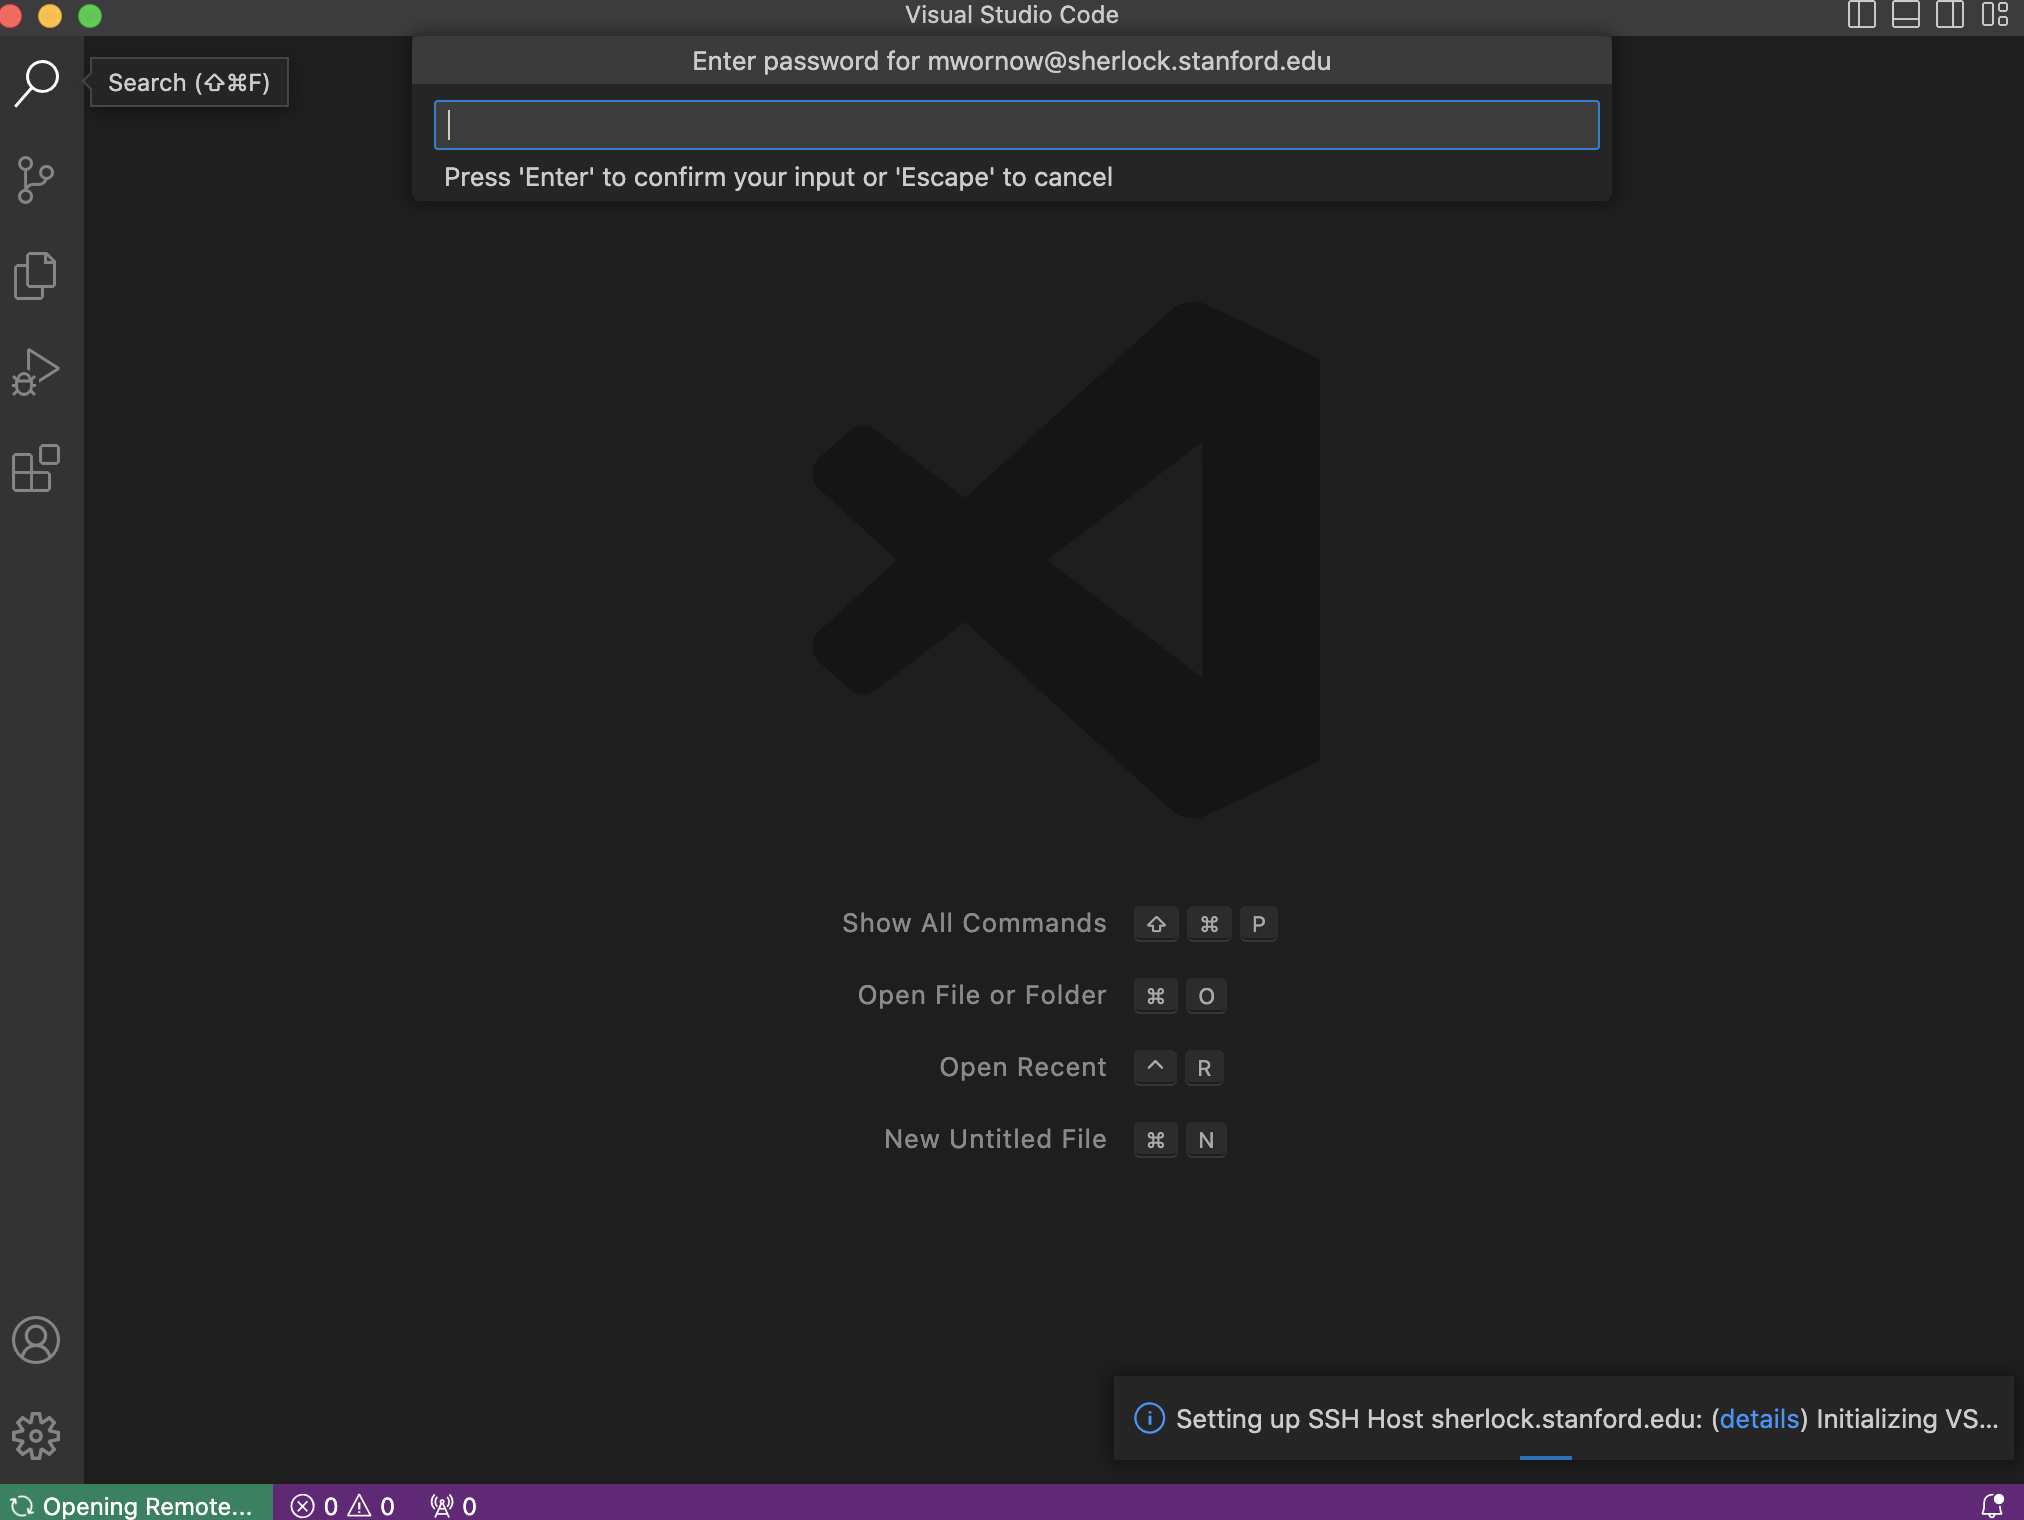
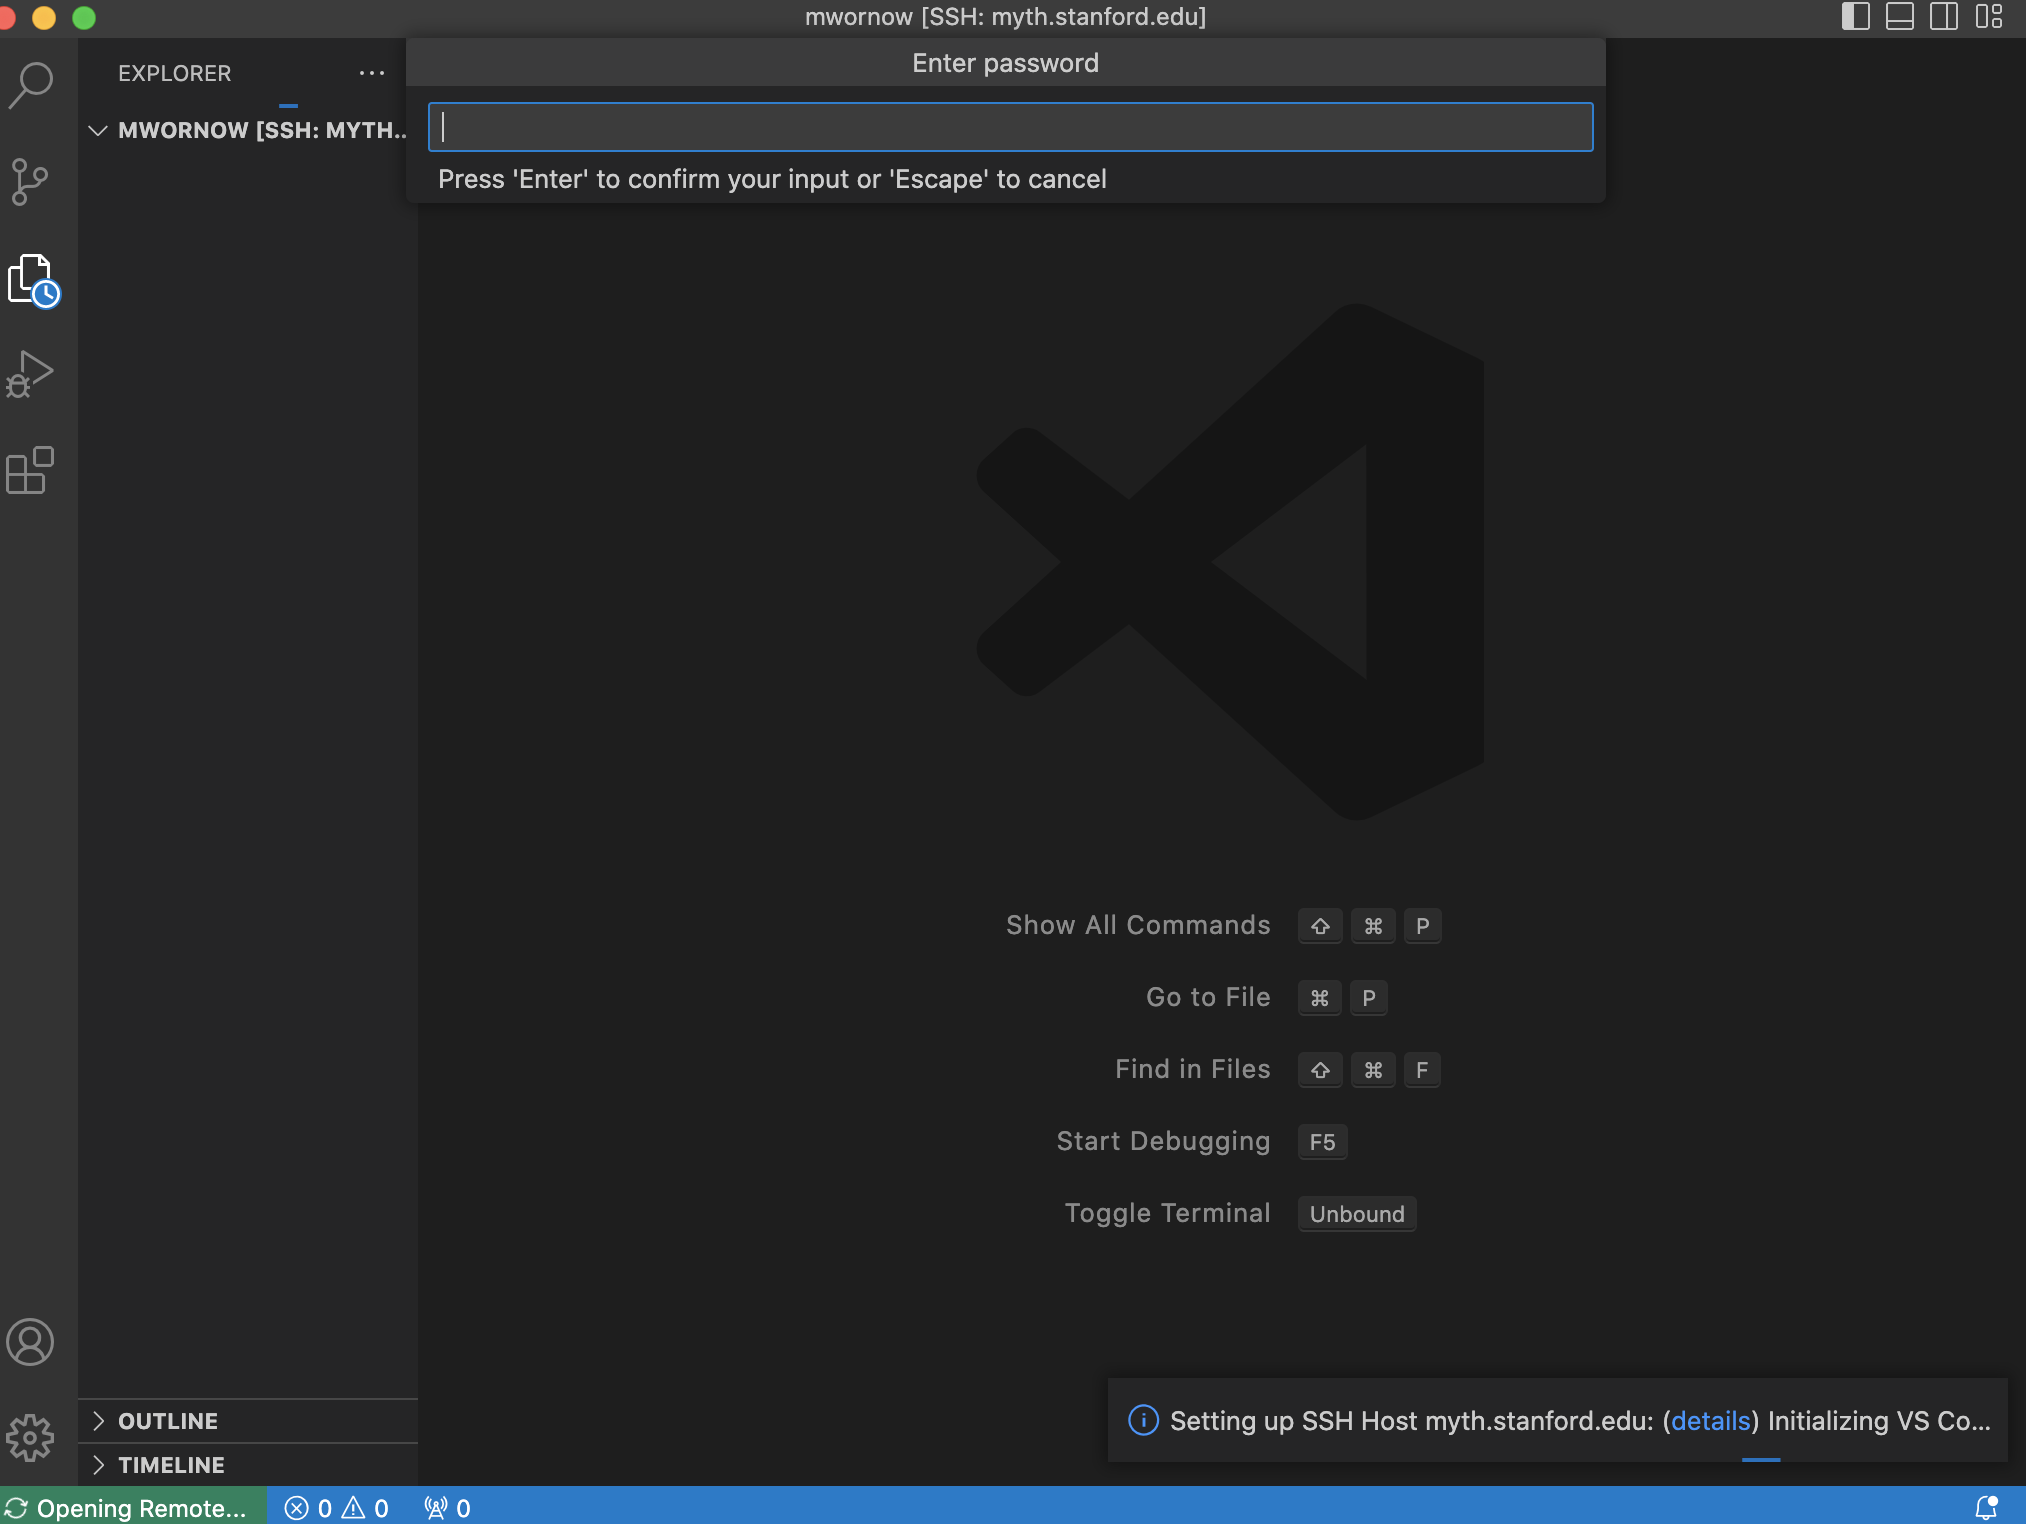
- Let’s click Connect to connect to our remote. Alternatively, you can go the Command Pallette route – hold
Cmd + Shift + P, select the “Remote-SSH: Connect to Host” command, then select your remote from the dropdown list. VSCode should open up an entirely new window once you start the connection process, and will prompt you for your password (if you need one). Type in your password.
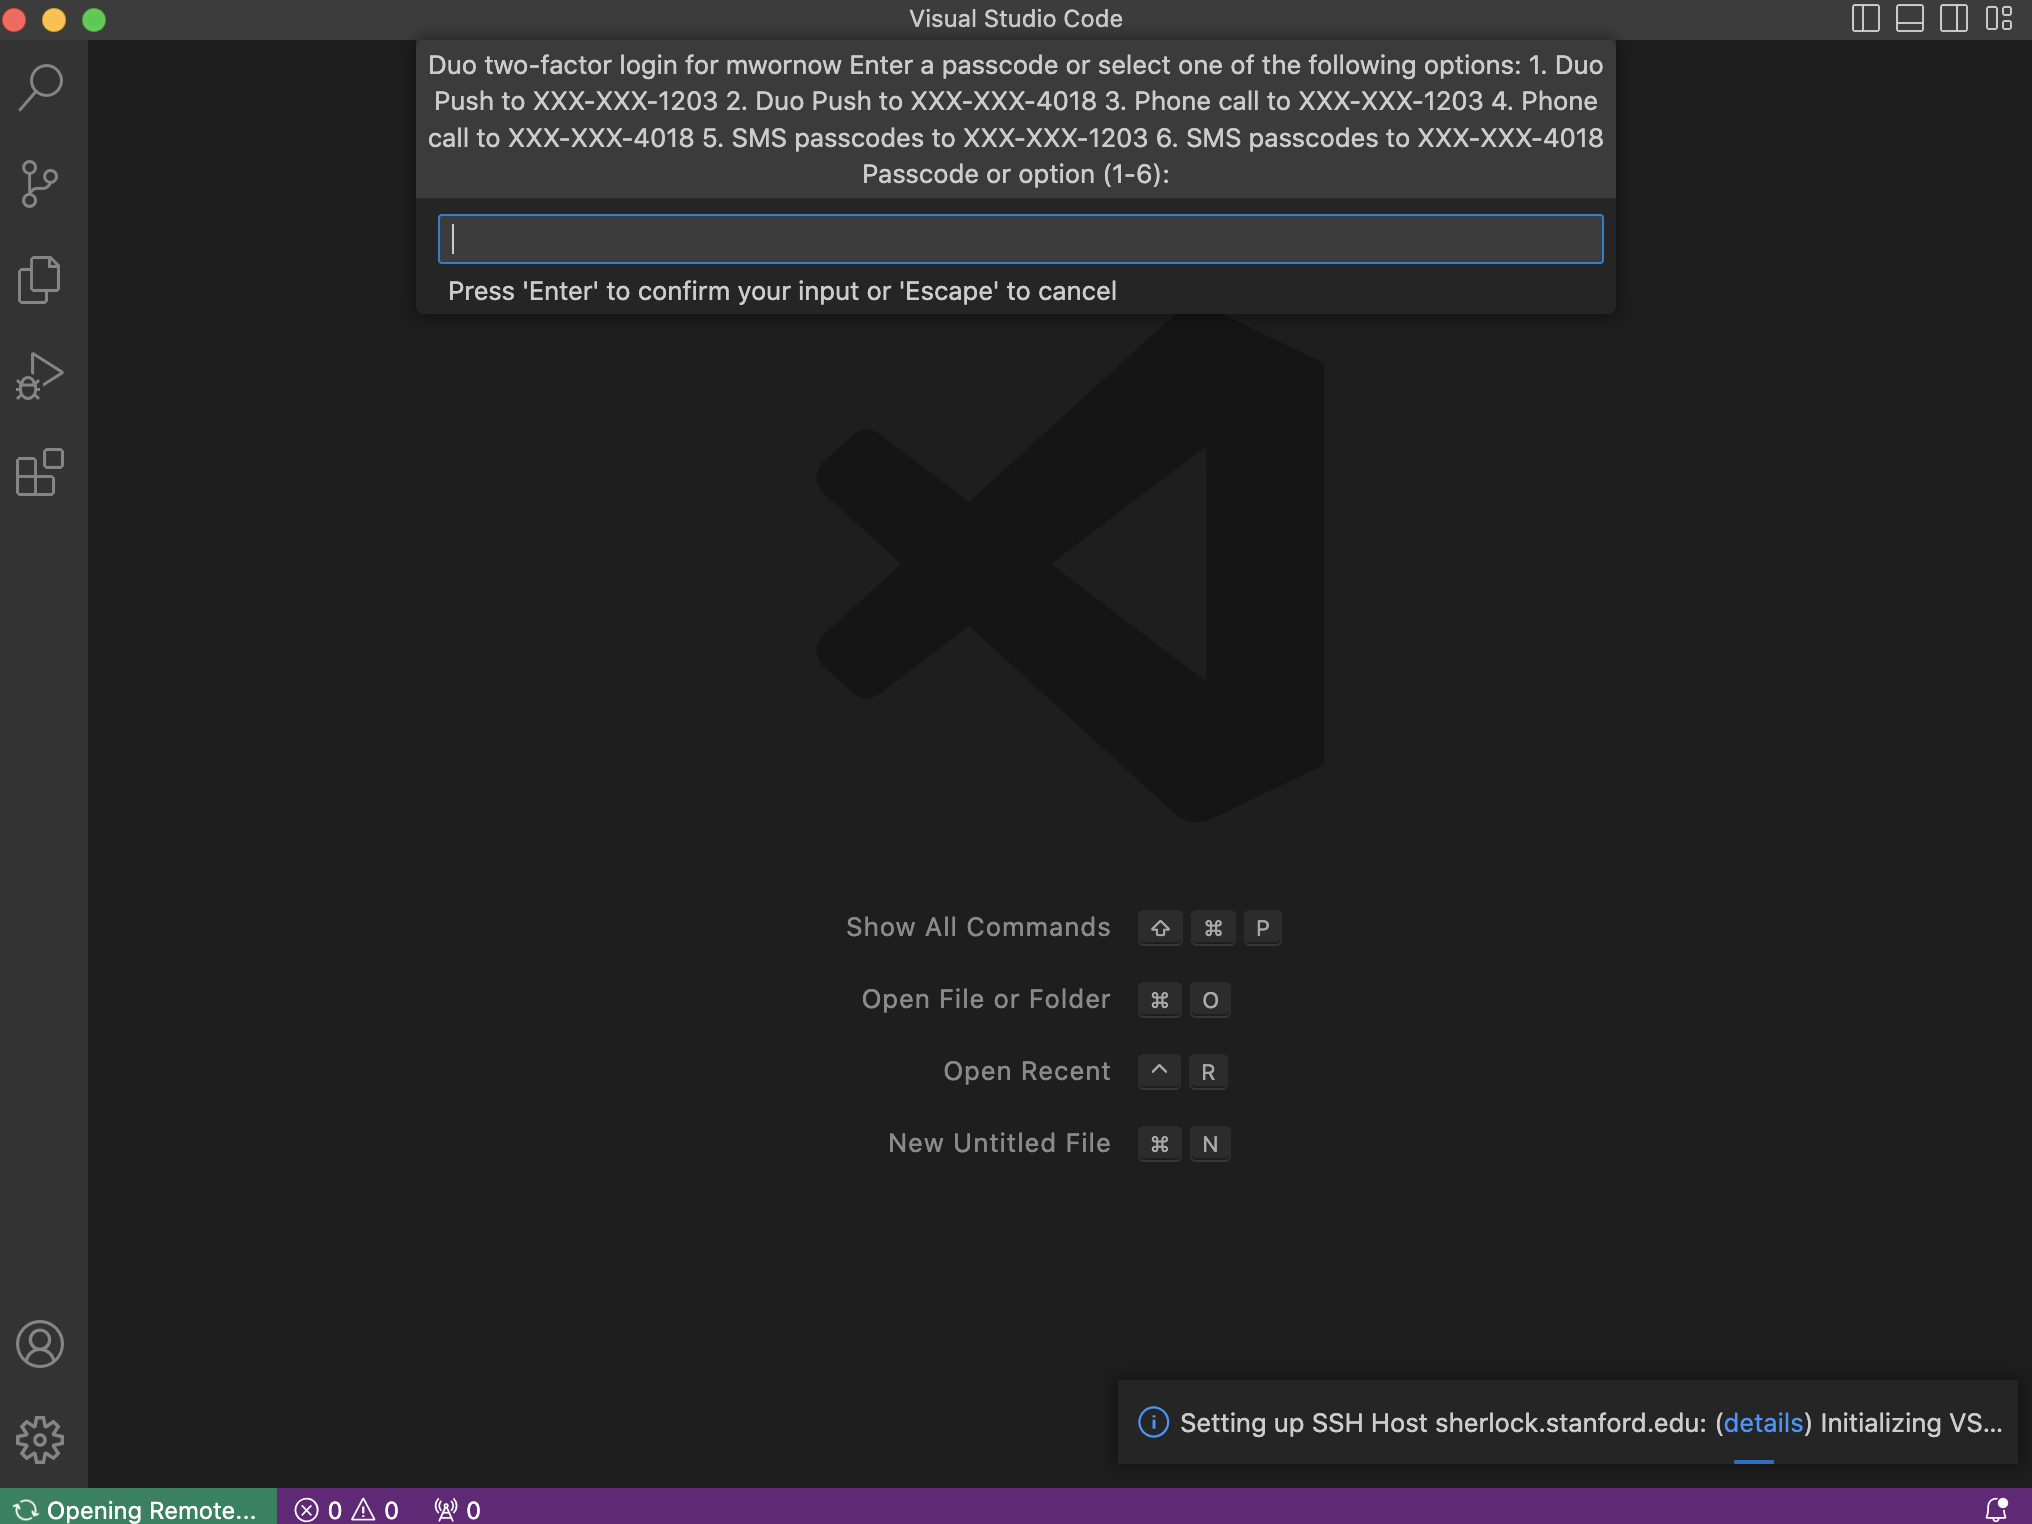
- [Optional] If you have 2-factor authentication enabled, VSCode will prompt you for your code. Follow the instruction to finish the login process.
- You should now be all set!
3. Maximizing Performance
Now that your VSCode is hooked up to your remote, here are some tips to make the most out of your editor.
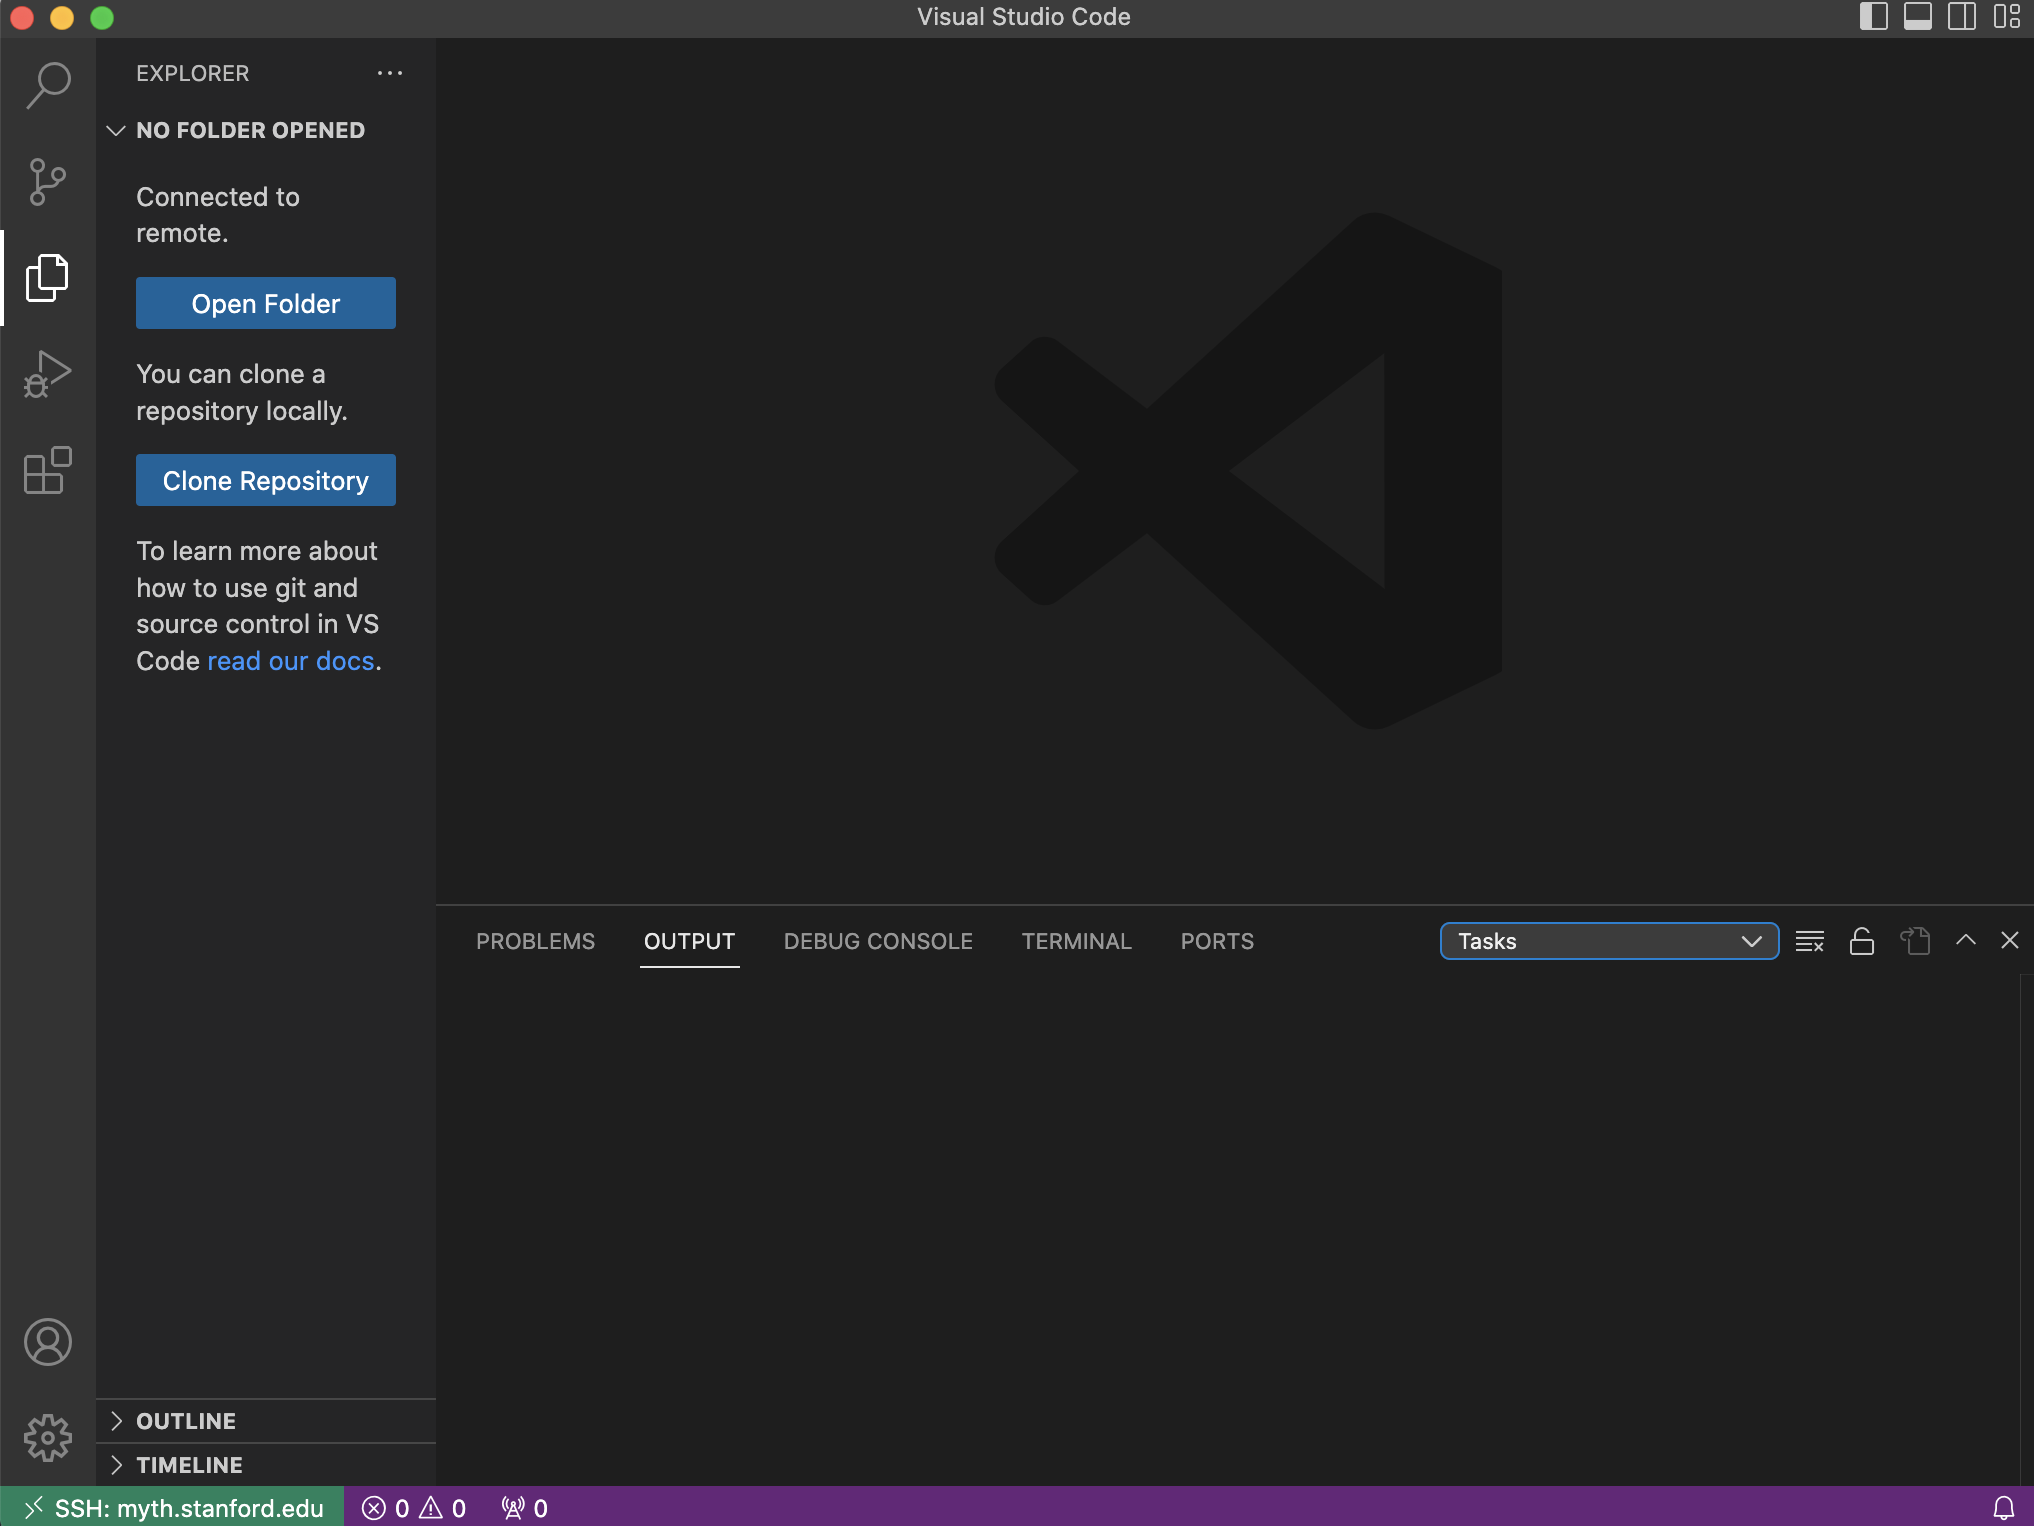
A) View a remote folder in VSCode’s Explorer sidebar
One of the best features of VSCode is the ability to quickly view, open, and delete files in the folder you’re working on by using the Explorer sidebar.
We can enable this feature on our remote as well.
- Open up the Explorer sidebar (
Cmd + Shift + E)
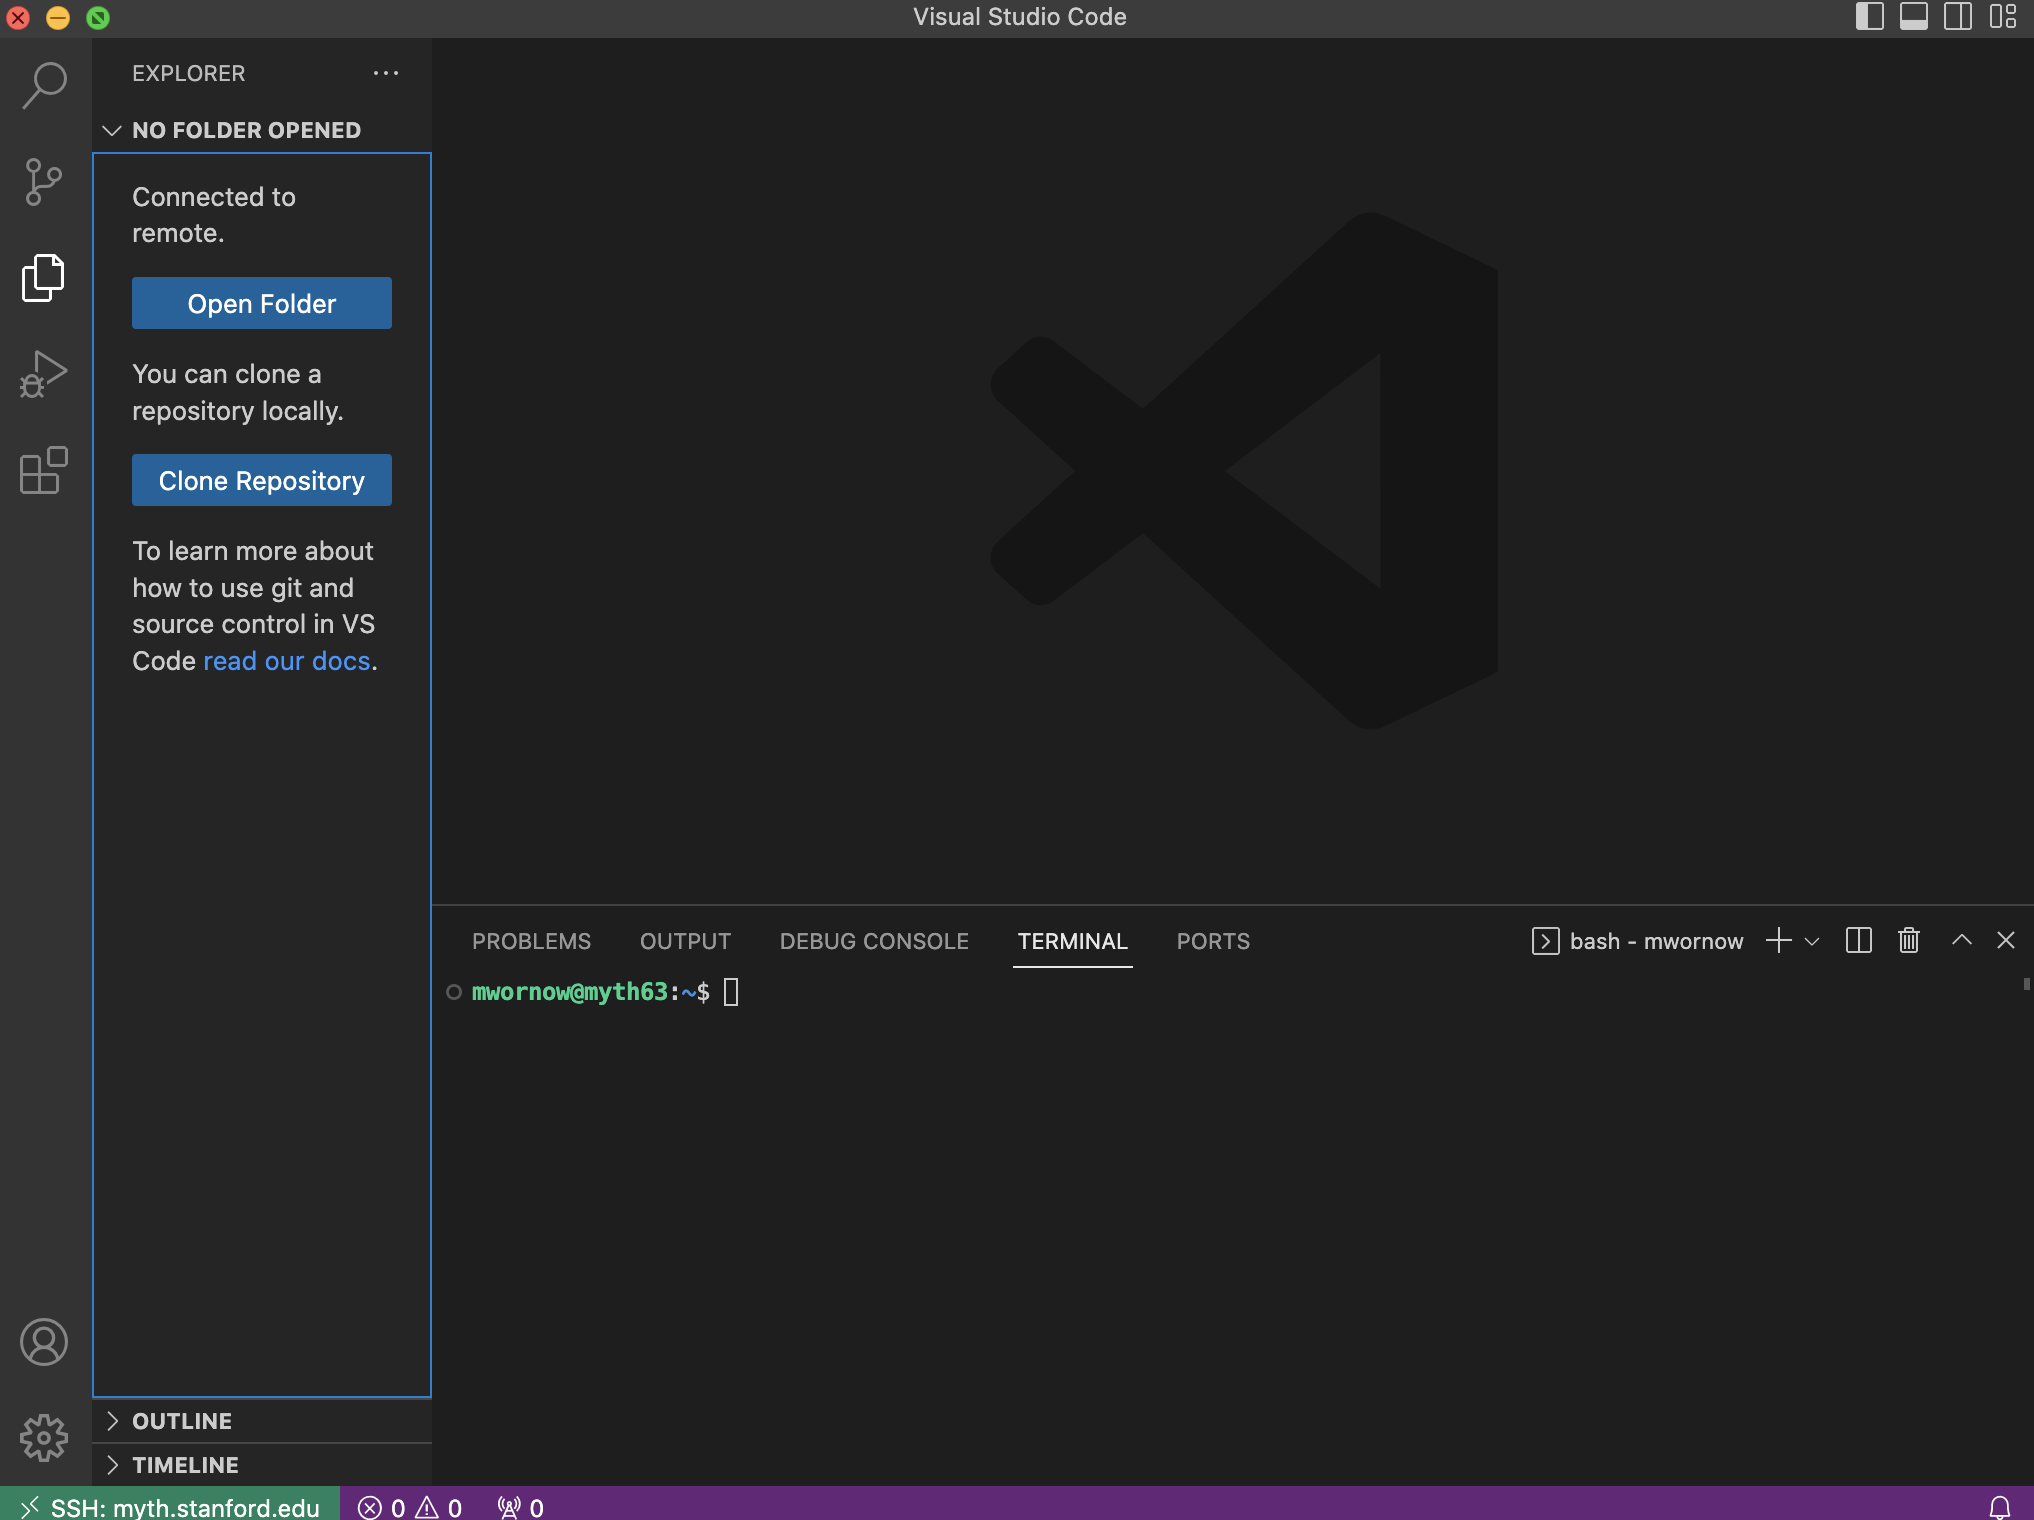
- Click the Open Folder button in the top left. This will open up a dialogue box asking you to specify a path to a folder on your remote server to open.
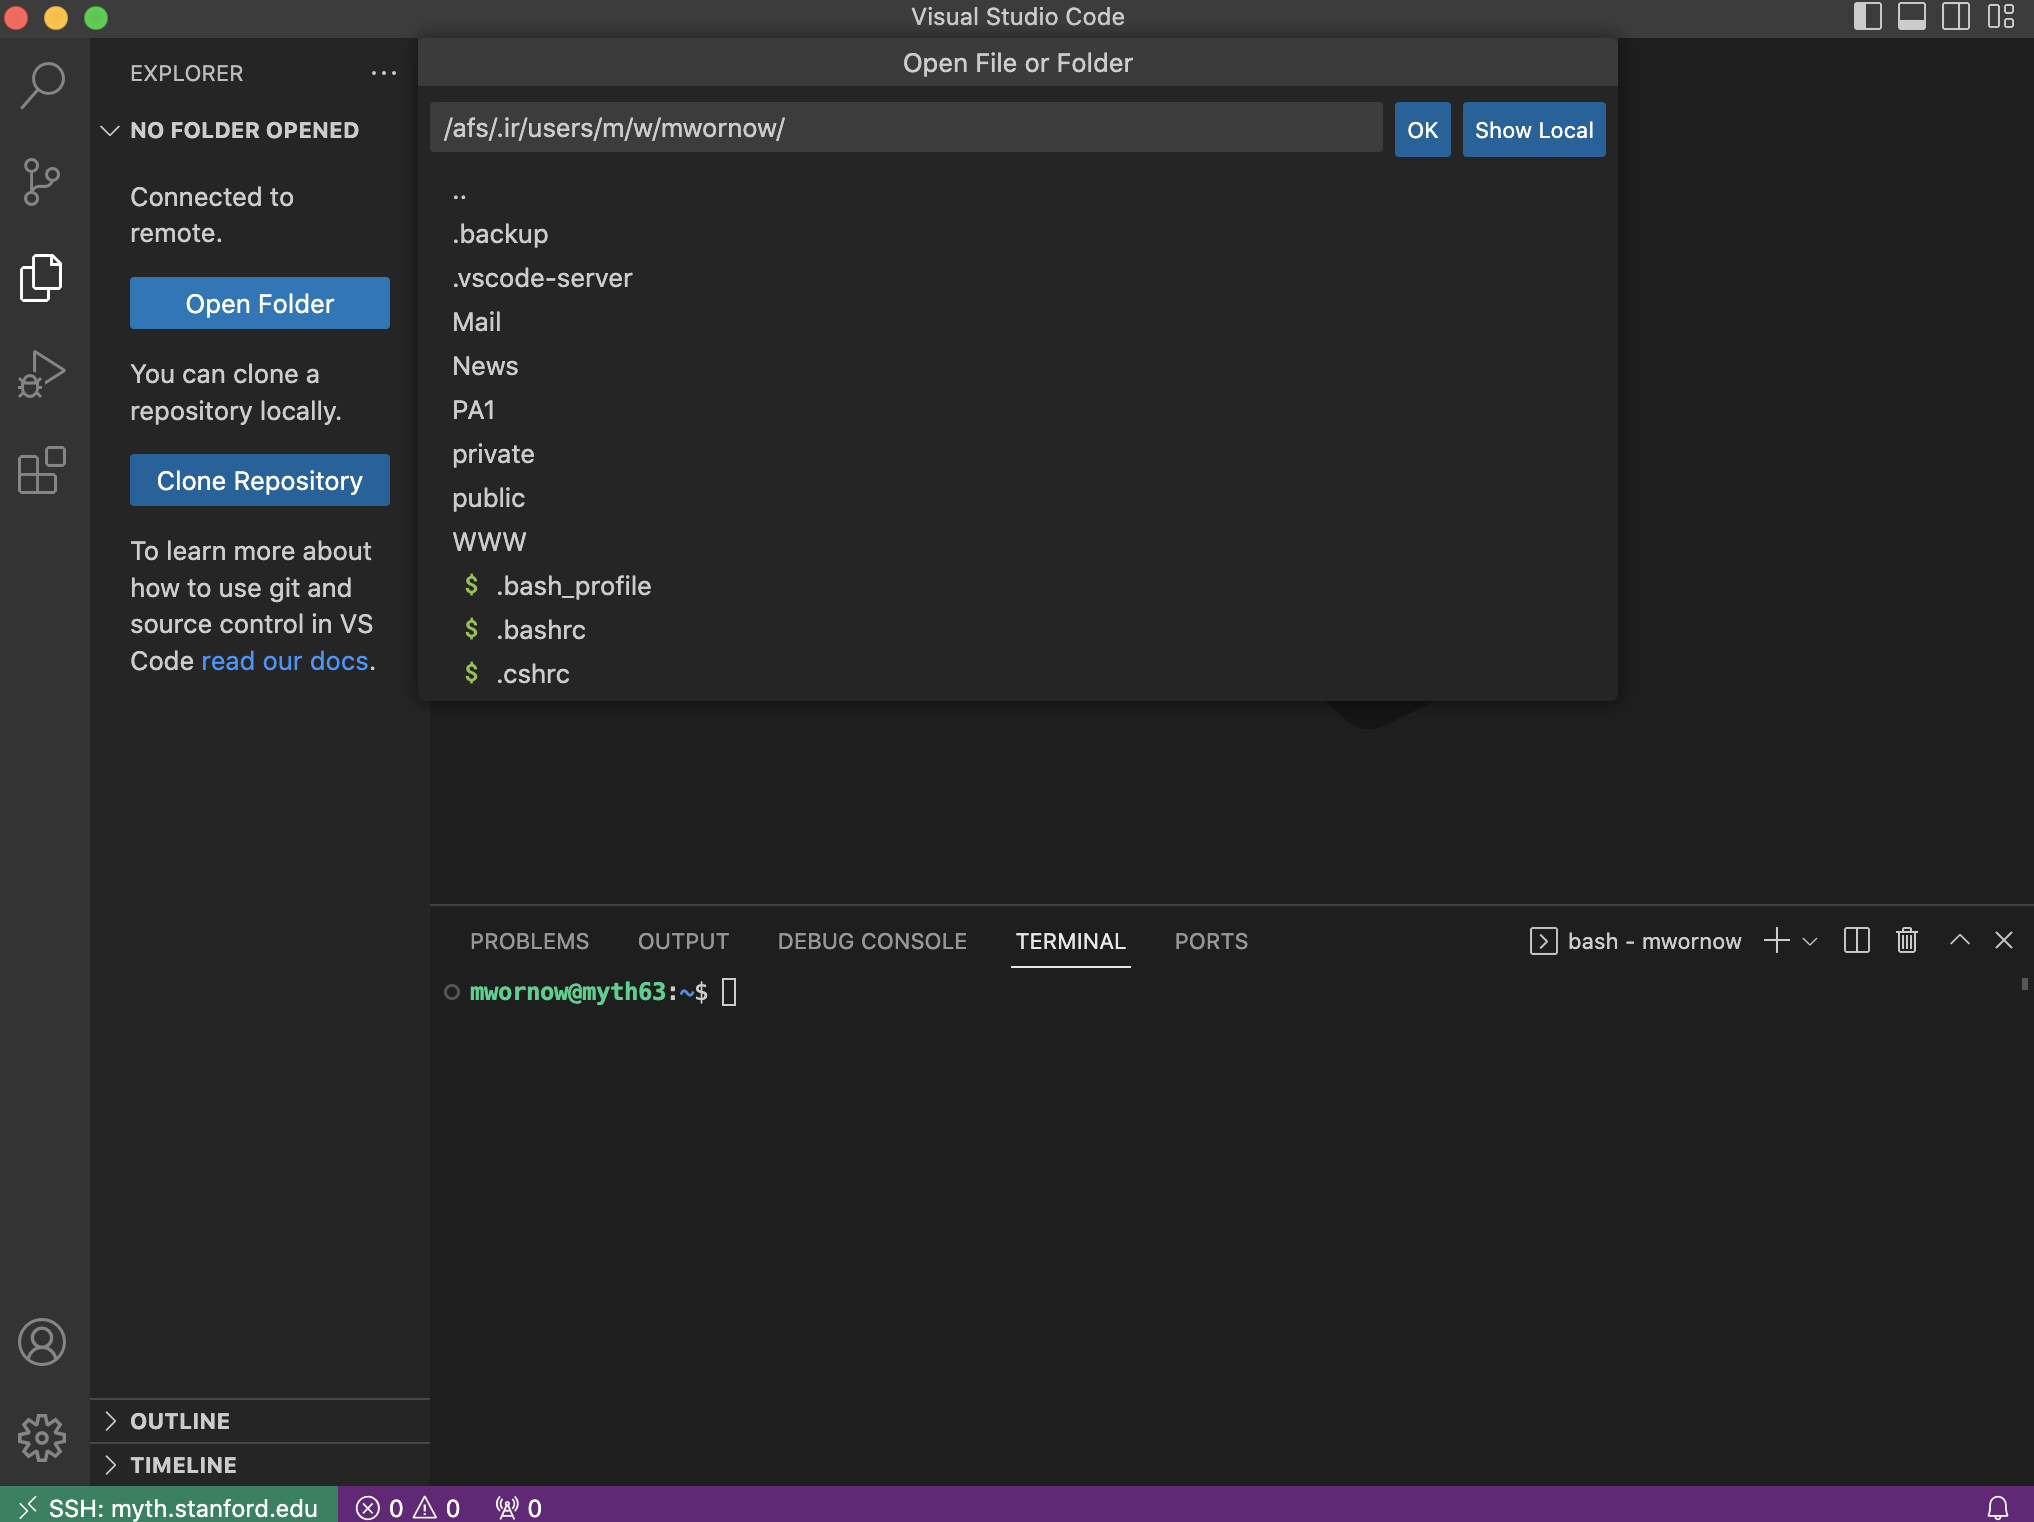
- Once you’ve entered your desired path, hit OK. VSCode will do a complete refresh, which means you’ll need to re-enter your credentials again (as if you had just started a new
sshconnection).
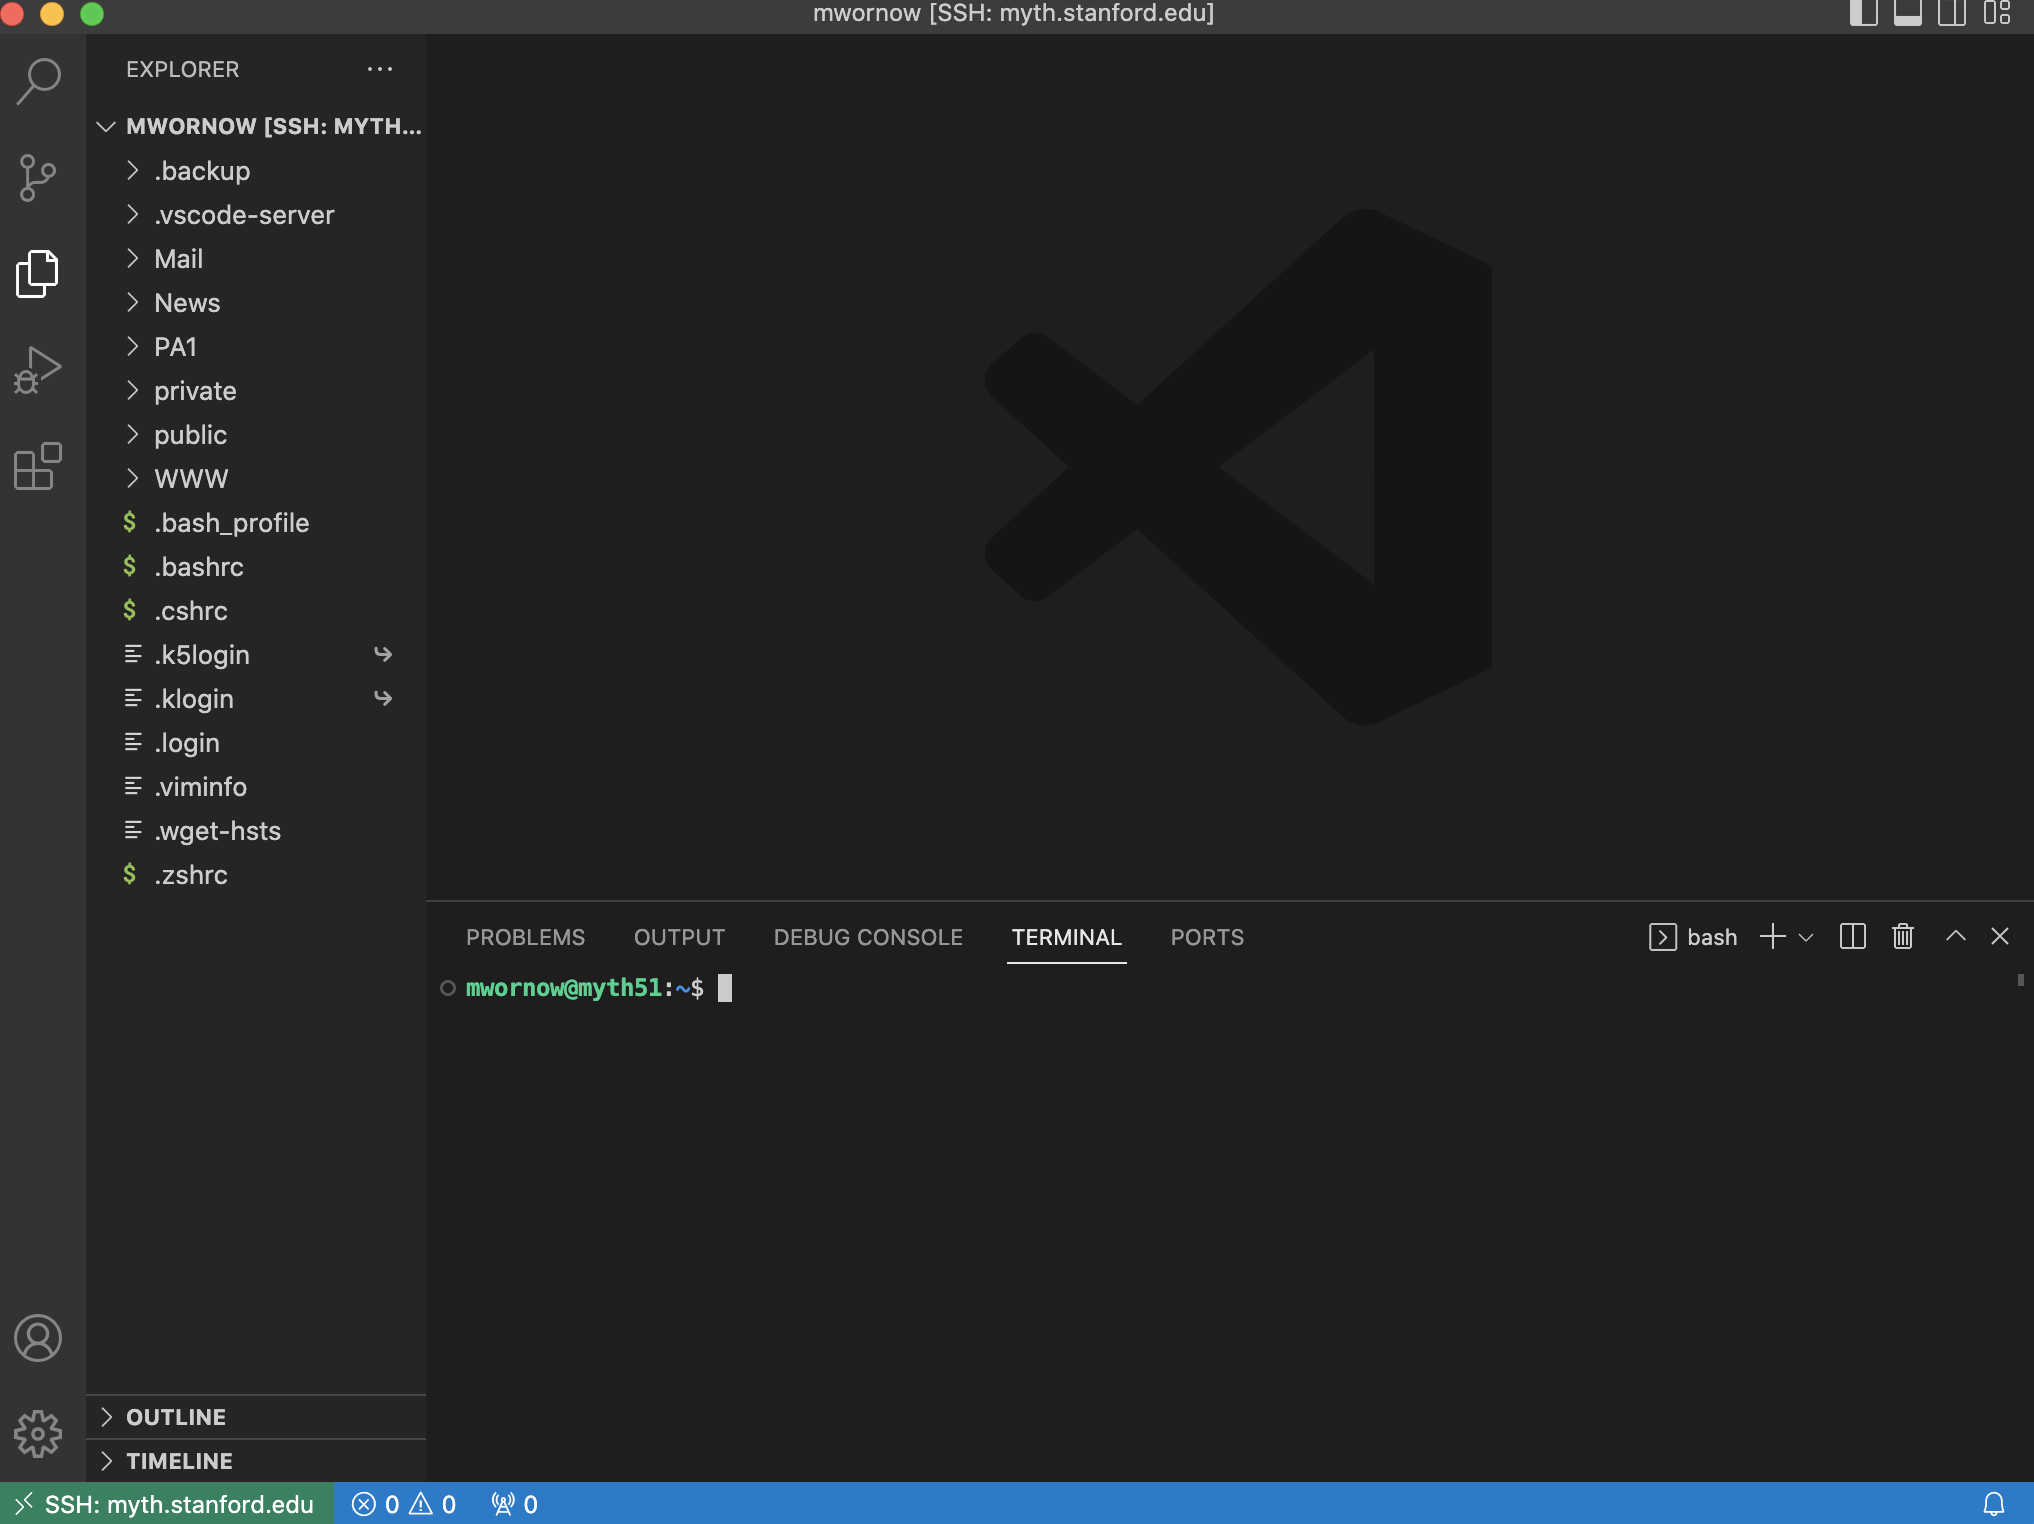
- Once you follow the prompts and successfully login, you should now see that the folder you previously selected has appeared in your Explorer sidebar!
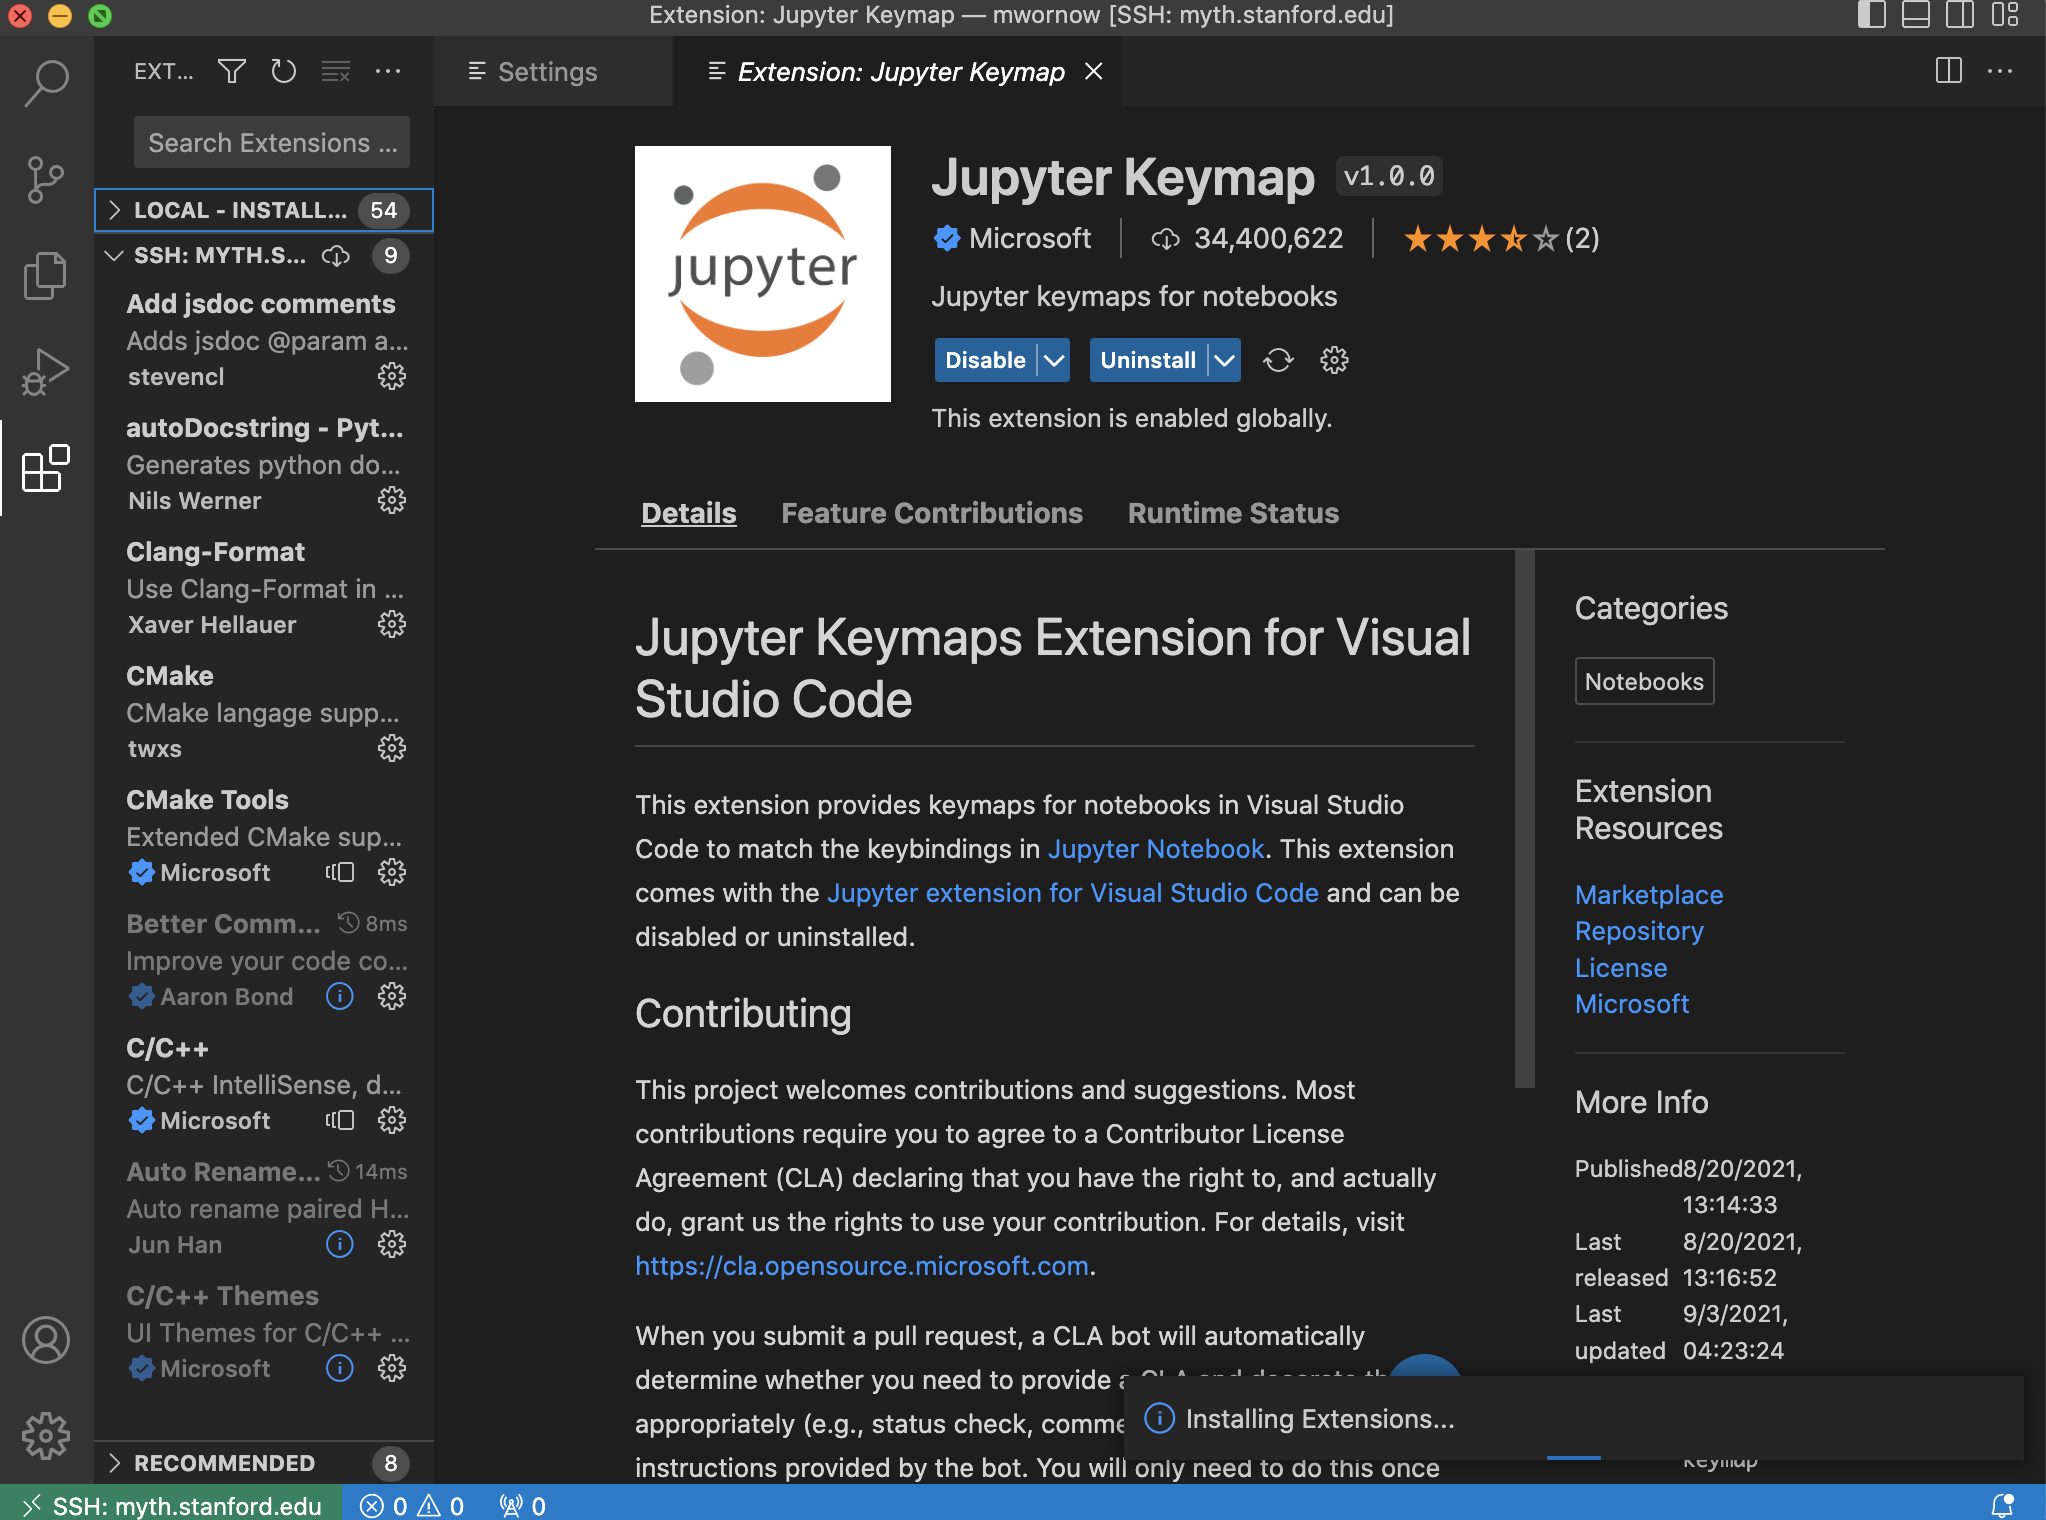
B) Install your local VSCode Extensions onto your remote
Your VSCode extensions won’t automatically be migrated into your remote environment.
You’ll need to manually specify which of your locally-installed extensions should be installed on your remote as well.
- Go to the Extensions sidebar (
Cmd + Shift + X)
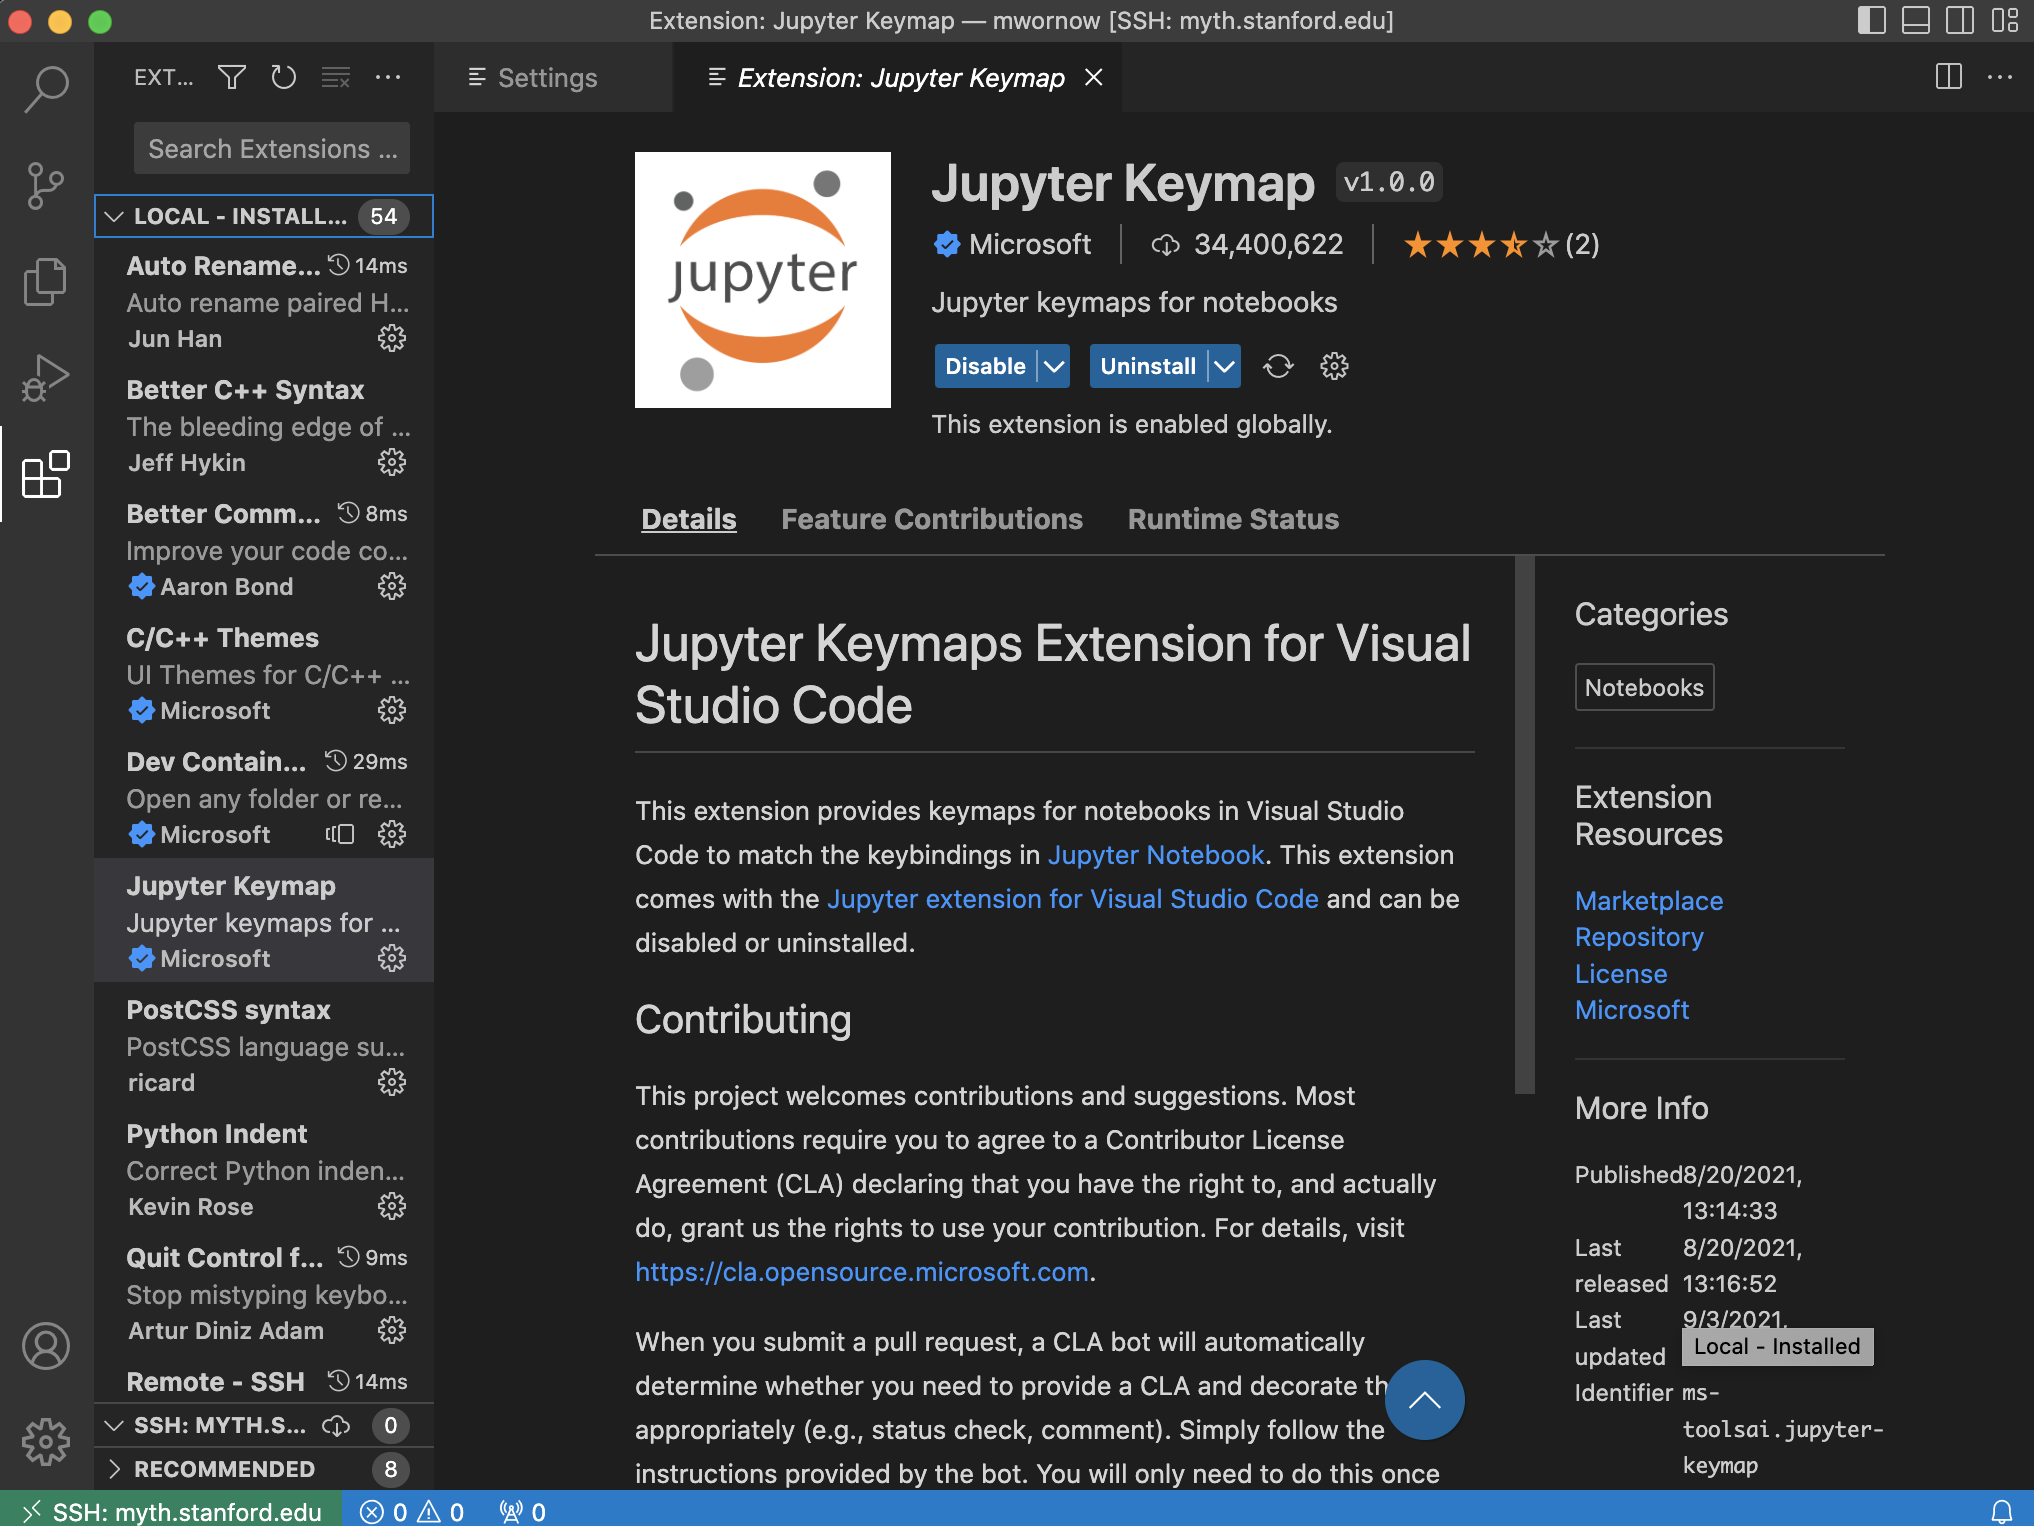
- Click on the little cloud icon at the bottom-left of the Extensions panel, where it says “SSH: …”. This will open a pop-up dialogue.

- In the pop-up, enter the extensions that you want to import into your remote environment. Then click OK.
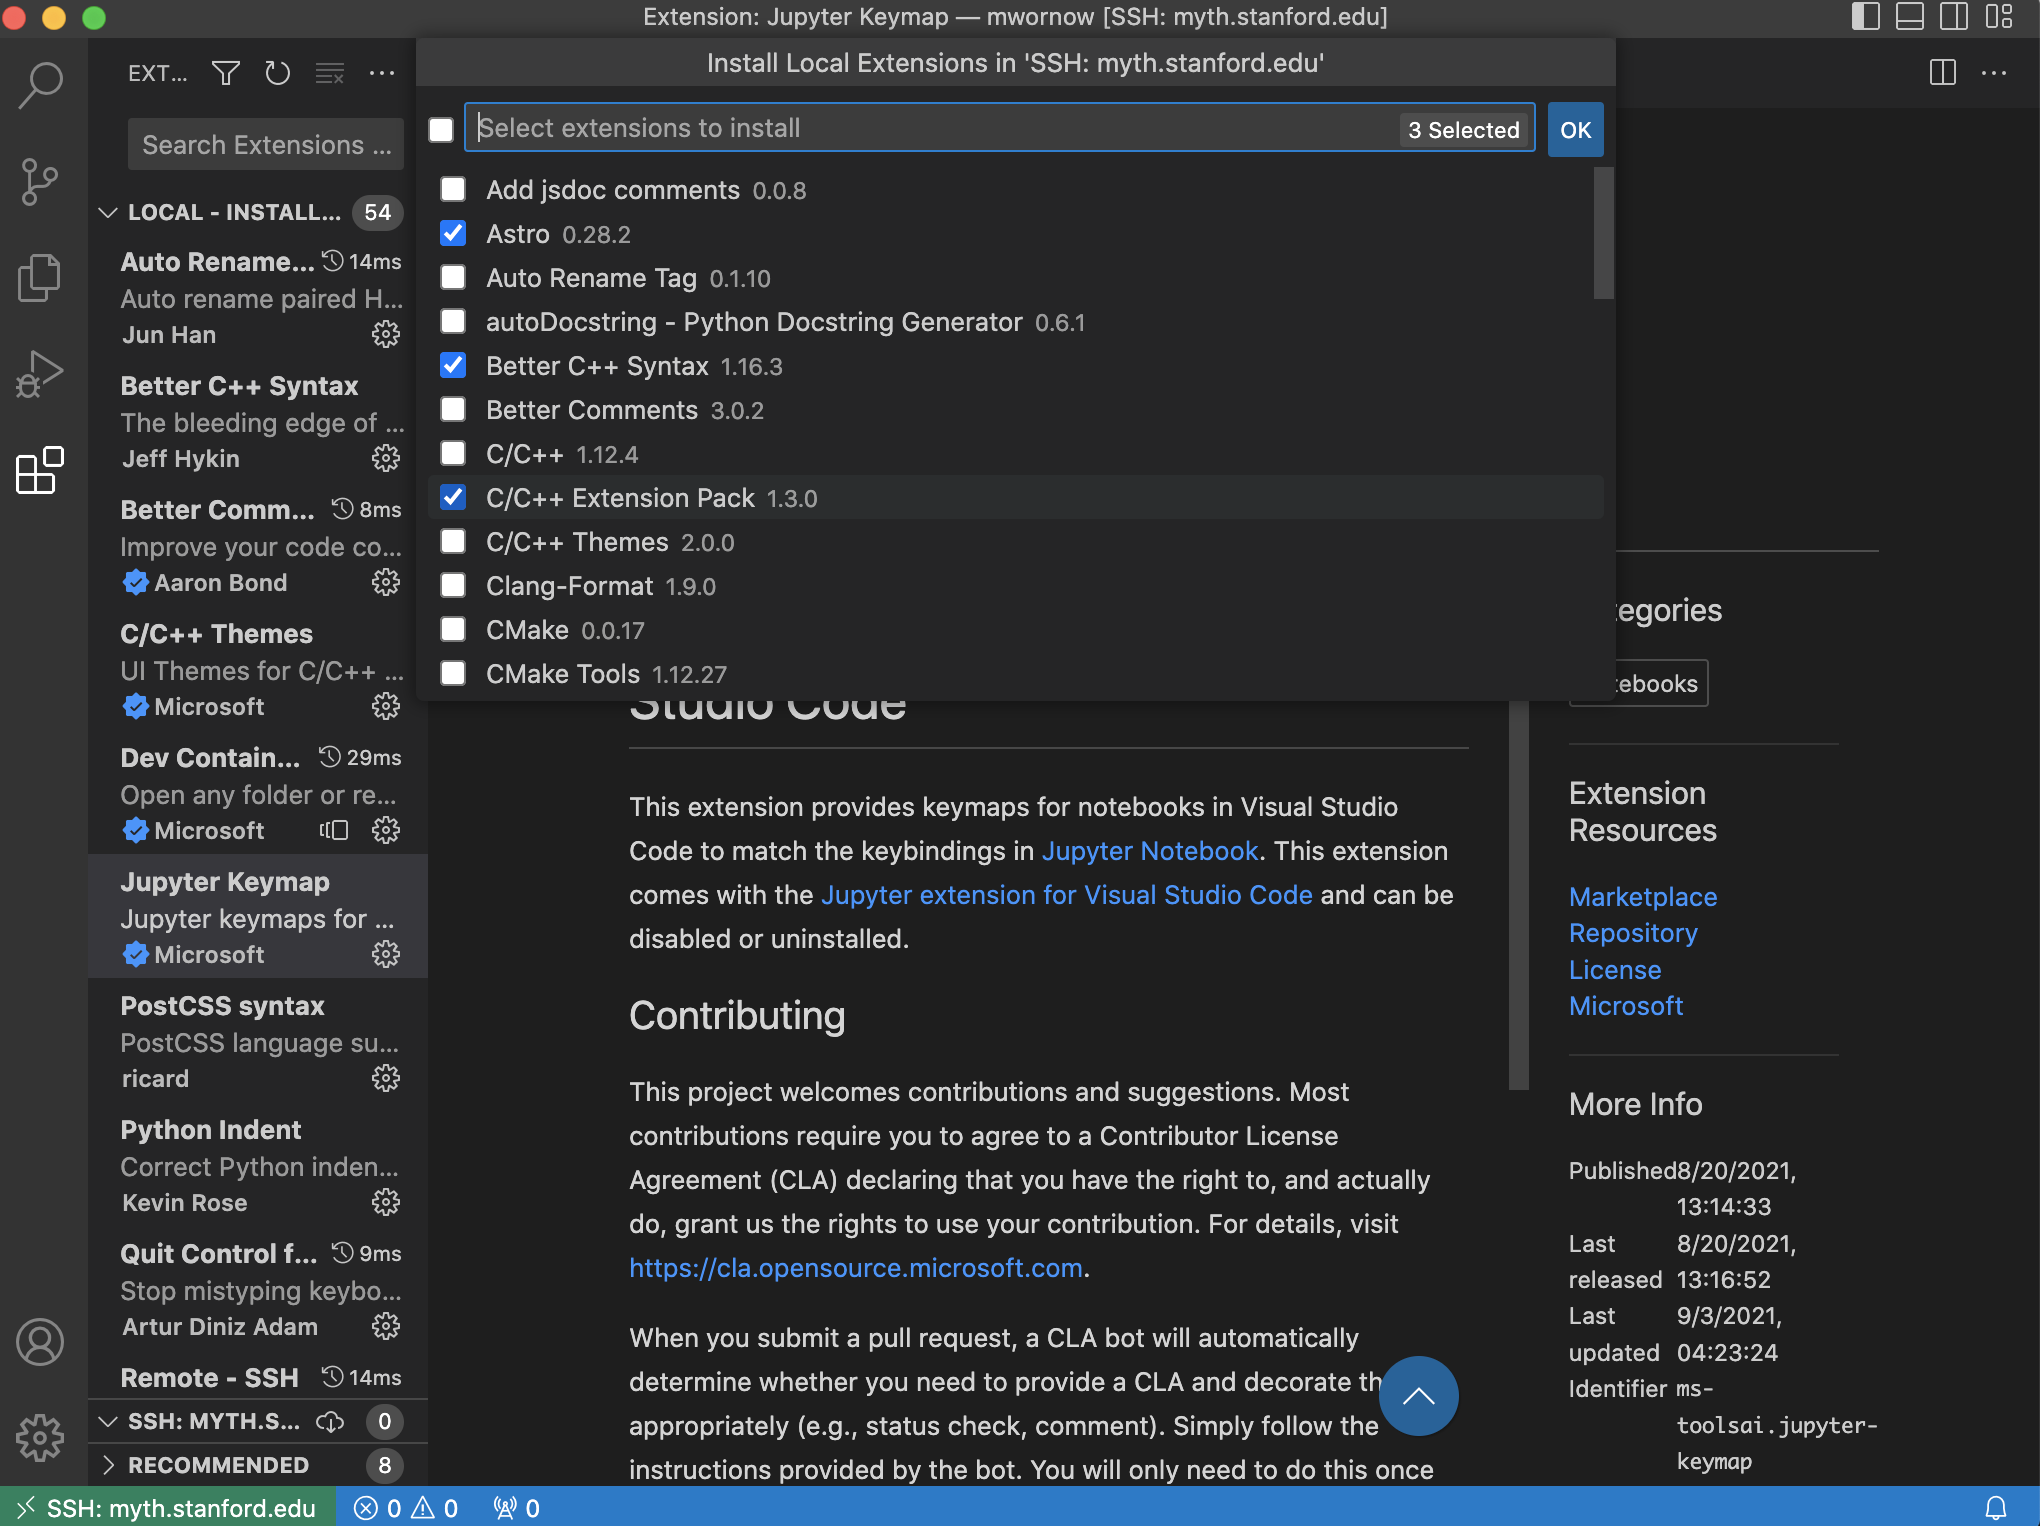
- The extensions that you just installed will now appear in your Extensions sidebar under the SSH: … tab.
4. Troubleshooting
Unfortunately, VSCode does not always cooperate, and a lot of weird / frustrating / inexplicable bugs can prevent VSCode from successfully connecting to your remote.
Here are some useful tips for debugging when things inevitably go awry.
A) View the raw ssh logs
The first place to start is to get some visibility in what is actually happening.
- Hit
Cmd + Shift + Uto open up the Output panel at the bottom of your screen.
- In the dropdown on the right-hand side of the Output panel, select the “Remote - SSH” option.
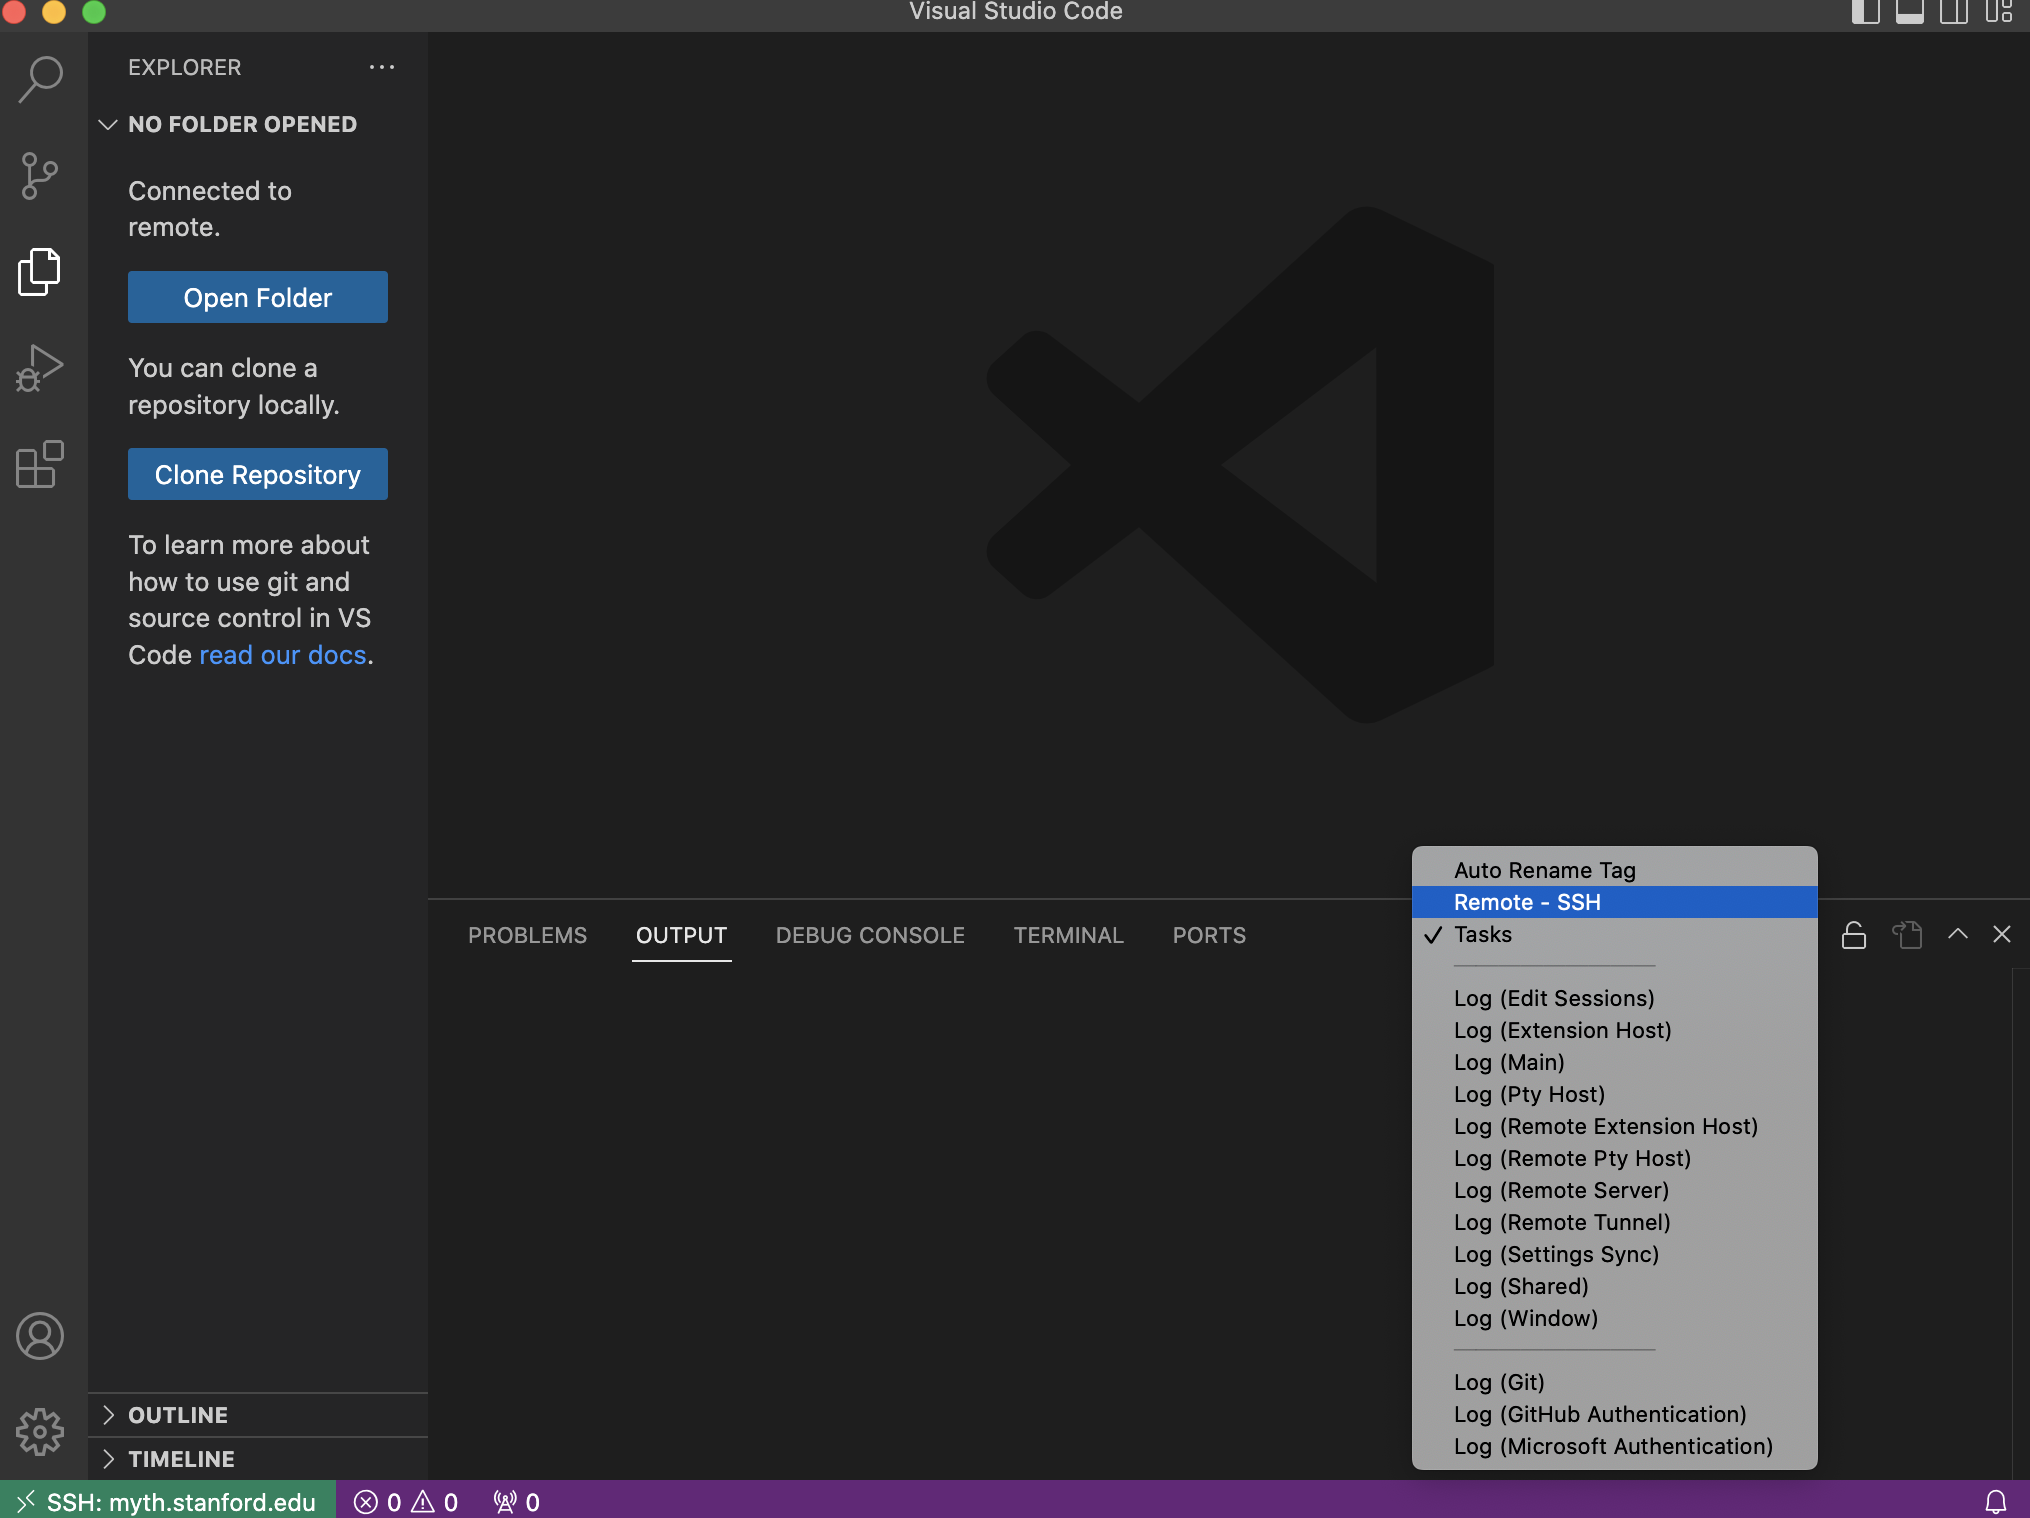
- Now we can see what was actually happening when VSCode tried to
sshinto our server.

B) Fixing Common Errors
To use the below guide, open up the Output panel so you can view the error messages from ssh. You can use Cmd + F to search for specific messages.
i) General Catch-All Solution
If all else fails, follow these steps to remove VSCode from your remote and reconnect:
- Quit VSCode
sshinto your remote server in a separate Terminal- Run this command:
rm -fr ~/.vscode-server- If the folder doesn’t exist, or you get an error, you can ignore it.
- Open VSCode
- Retry connecting
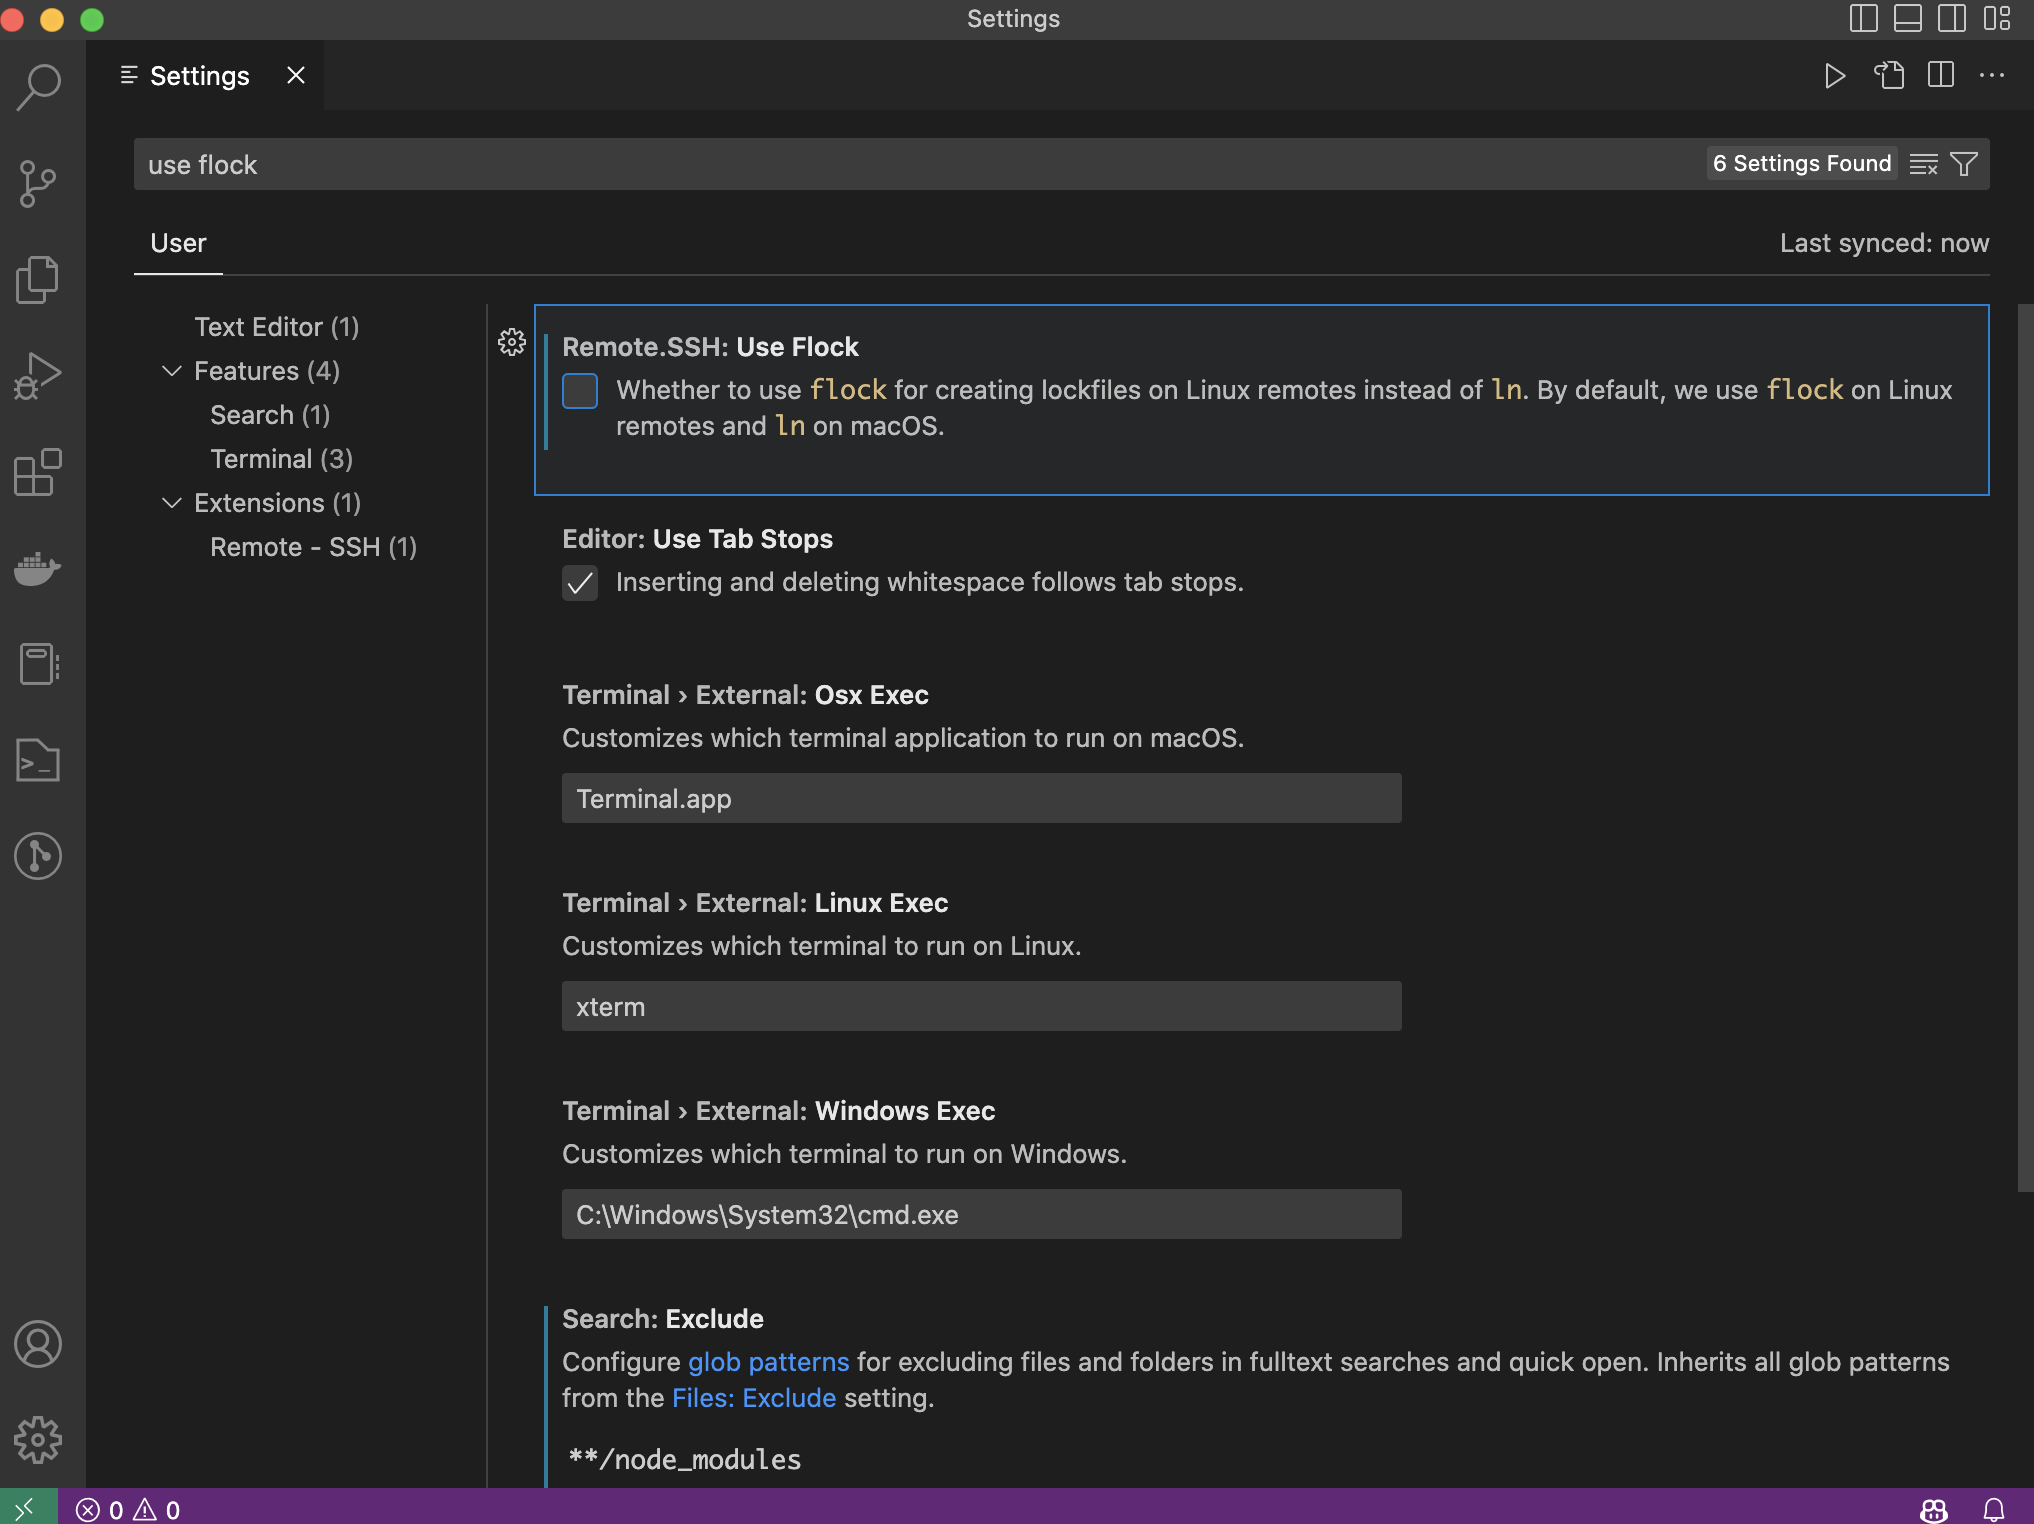
ii) If you see the message \> If you continue to see this message, you can try toggling the remote.SSH.useFlock setting in the Output Panel
This is caused by the issue identified here, caused by VSCode locking files it shouldn’t.
To fix it, follow these steps:
- Quit VSCode
sshinto your remote server in a separate Terminal- Run this command:
rm -fr ~/.vscode-server - Open VSCode
- Go to the VSCode settings page (
Cmd + ,) and type “Use Flock” - Uncheck the box for “Use Flock”
-
Quit VSCode
-
Open VSCode
-
Try reconnecting to your remote using Remote - SSH.
iii) If you see the message \> wget XXXX in the Output Panel
This is caused by your remote server not having internet access, and thus it can’t download the VSCode update using wget.
This is a common issue on remote servers that manage PHI or high risk data, or have strict firewalls.
To get around this, you’ll need to manually copy the VSCode update file to your remote.
iv) If you see the message Could not establish connection, cannot find module minimist in a popup
Follow the instructions under “General Catch-All Solution”
5) Slurm
Goal: Set up VSCode on a compute node of a remote Slurm cluster that you can’t directly ssh into (i.e. instead of the useless login node)
Motivation:
Let’s say you have a Slurm compute cluster with a login node and several compute nodes.
The login node only has CPUs, and the compute nodes have GPUs.
You need to run a script that requires GPUs (e.g. a machine learning model like Llama-2). However, you’re not sure if the script works yet. Thus, you want to run it using the VSCode Debugger.
First, you run Remote-SSH to connect to your Slurm cluster.
This puts you on your login node.
Next, you run the VSCode Debugger on your script.
Unfortunately, it fails.
That’s because the VSCode Debugger runs where your VSCode Remote Server is located – in this case, your login node, which does not have any GPUs.
Thus, we somehow need to get our VSCode server onto a GPU-enabled Slurm compute node.
Then we’ll be able to successfully run our script using the VSCode Debugger.
Here’s how to do that:
-
cdinto a directory in your login node that is shared with your compute node. In my case, this was:/share/pi/nigam/mwornow -
Run the following code to download the VSCode CLI:
curl -Lk 'https://code.visualstudio.com/sha/download?build=stable&os=cli-alpine-x64' --output vscode_cli.tar.gz && tar -xf vscode_cli.tar.gz -
Get onto your compute node. You’ll likely need to run a Slurm command similar to:
srun --partition=gpu --mem=200G --gres=gpu:4 --cpus-per-task=20 --time=5:00:00 --pty bash -i -
Verify that your Terminal is now on your compute node.
-
Now that you’re on your compute node, create a tunnel between your login and compute node by running:
./code tunnelfrom the shared directory from Step #1. -
The command will print out some information. Click the link, type in the 8-digit code, and authorize VSCode using Github. You’ll be asked to select a name for your tunnel. Remember this.
-
Open a new VSCode window with:
Shift + Cmd + N -
Open the command palette with
Shift + Cmd + Pand type inRemote-Tunnels: Connect to Tunnel.... Select the name that you chose for your tunnel from Step #6. -
Done!
You can now use the full power of VSCode from your remote Slurm compute node.
Note that when the compute node terminates, you’ll need to redo this process starting from Step #3.
References:
- https://stackoverflow.com/questions/58532641/how-can-i-ensure-vs-code-remote-ssh-server-runs-on-a-compute-node-of-our-cluster
- https://code.visualstudio.com/docs/remote/tunnels#_using-the-code-cli